
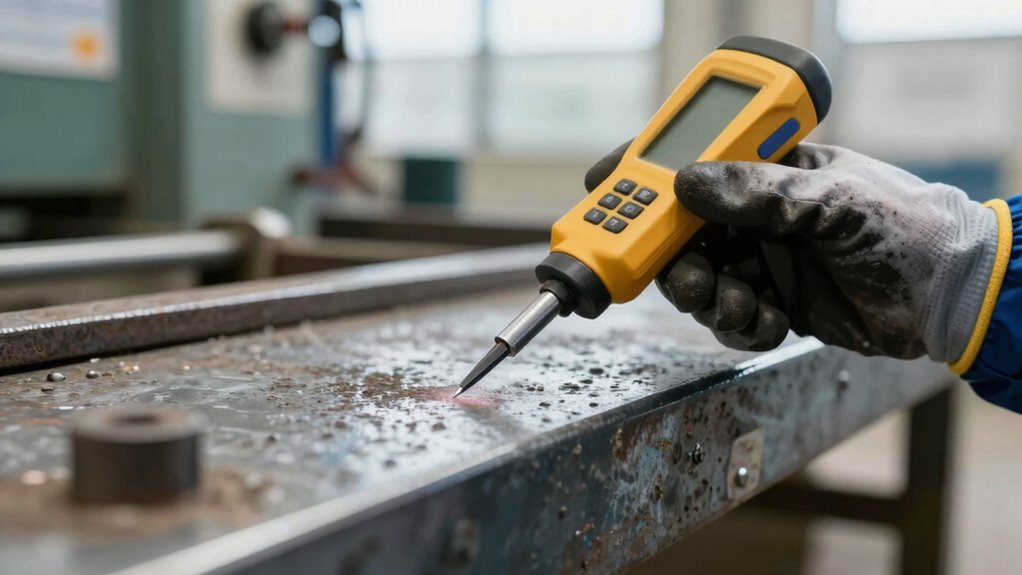
Hardness testing is a quick, reliable way to identify hidden wear failures and surface anomalies before they cause costly breakdowns. By measuring resistance to indentation, you can detect micro-cracks, fatigue, or material softening that aren’t visible to the naked eye. This proactive approach helps prevent unexpected failures and extends equipment life. Stick with us, and you’ll discover how to make the most of this essential maintenance tool.
Key Takeaways
- Hardness testing quickly reveals surface degradation and hidden micro-cracks that cause mystery wear failures.
- Non-destructive methods like Rockwell, Brinell, and Vickers detect anomalies without damaging the surface.
- Regular hardness checks help identify early signs of wear, preventing unexpected equipment failures.
- Proper surface preparation and calibration ensure accurate detection of subtle material weaknesses.
- Hardness testing enables rapid, cost-effective diagnosis to support proactive maintenance and extend equipment lifespan.

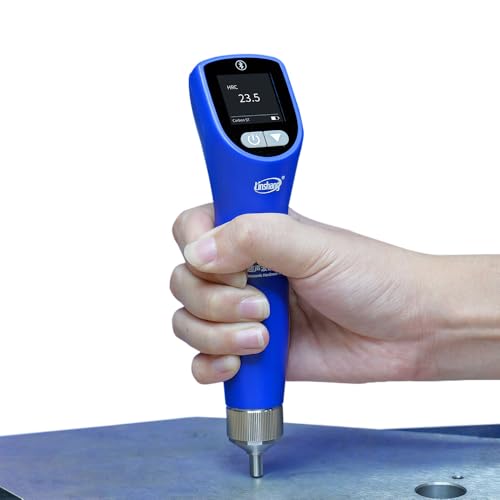
Helivivfy Metal Hardness Tester – Portable Hardness Tester Kit with Test Block,Pen Type Richter Hardness Tester,Rockwell Metal Hardness Meter
【7 kinds of hardness system】: Hardness tester provides Richter (HL) Brinell (HB) Rockwell A (HRA) Rockwell B (HRB)…
As an affiliate, we earn on qualifying purchases.
As an affiliate, we earn on qualifying purchases.
What Is Hardness Testing and Why Is It Important?
Have you ever wondered how engineers determine if a material can withstand wear and deformation? Hardness testing is the key. It measures a material’s resistance to surface indentation, giving insights into its durability. By examining case studies from various industries, you see how hardness tests help predict performance and prevent failures. Industry standards, such as ASTM and ISO, set the benchmarks for testing methods and results, ensuring consistency across applications. These standards help engineers choose the right materials and processes for specific uses, reducing costly mistakes. Hardness testing is essential for quality control, safety, and longevity of products, making it a crucial part of engineering assessments. Without it, understanding material capabilities would be guesswork, risking premature failures or safety hazards. Rigorous testing procedures are vital to ensure accurate and reliable results in hardness testing. Additionally, test method standardization plays a significant role in maintaining the integrity and comparability of test results worldwide. Moreover, material properties such as composition and microstructure influence hardness measurements and must be considered during testing. For example, material composition can significantly affect hardness results and should be carefully evaluated before testing.
Helivivfy Metal Hardness Tester – Portable Hardness Tester Kit with Test Block,Pen Type Richter Hardness Tester,Rockwell Metal Hardness Meter
【7 kinds of hardness system】: Hardness tester provides Richter (HL) Brinell (HB) Rockwell A (HRA) Rockwell B (HRB)…
As an affiliate, we earn on qualifying purchases.
As an affiliate, we earn on qualifying purchases.
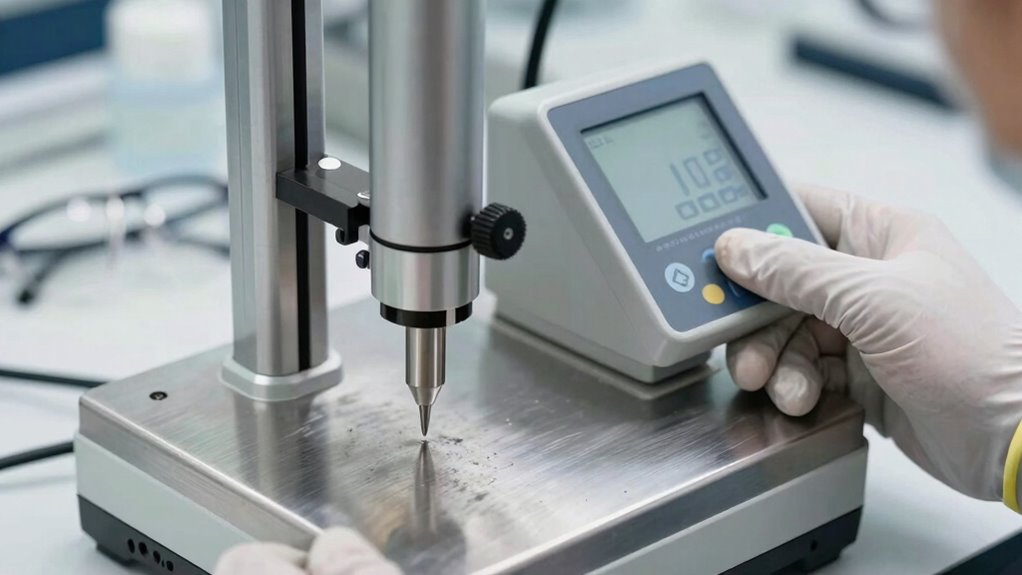
What Methods Are Used for Hardness Testing?
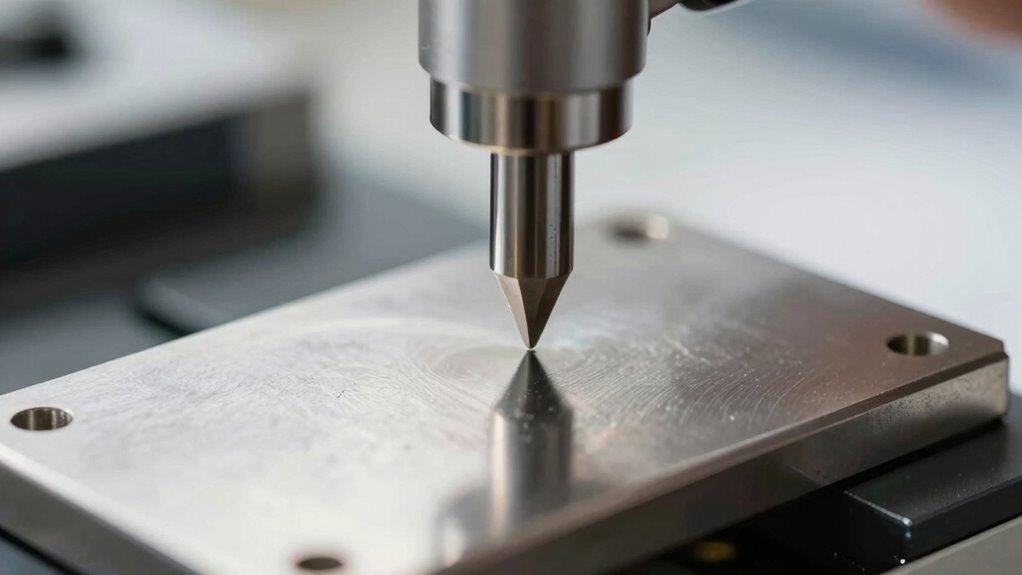
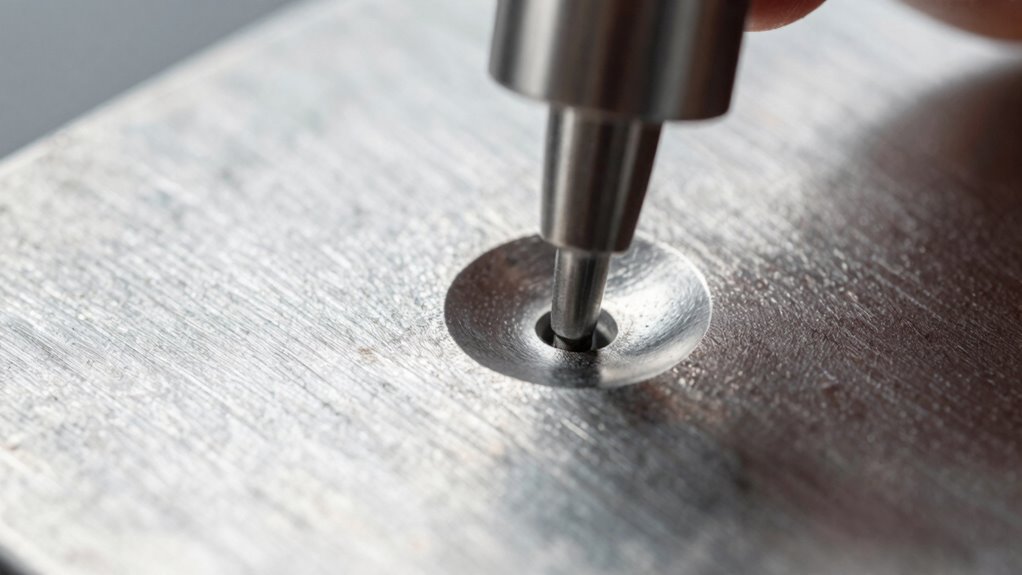
To determine a material’s hardness, engineers rely on several standardized testing methods, each tailored to specific applications and material types. Non-destructive testing techniques like the Rockwell, Brinell, and Vickers tests allow you to measure material hardness without damaging the sample. The Rockwell test uses a steel ball or diamond cone to make an indentation quickly, providing immediate results. Brinell testing involves pressing a hardened steel or tungsten carbide ball into the surface, suitable for softer materials. Vickers testing employs a diamond pyramid-shaped indenter, offering precise measurements for thin or delicate materials. These methods enable you to assess material hardness efficiently while preserving the integrity of your sample, making them essential tools in quality control and failure analysis. Additionally, selecting the appropriate measurement tools can significantly improve test accuracy and reliability. Understanding the test procedures ensures consistent results across different testing scenarios. Incorporating standardized methods also facilitates comparison of results across different laboratories and industries. Using proper calibration of testing equipment further enhances the accuracy and repeatability of hardness measurements. Applying test standards ensures compliance with industry regulations and best practices.
Linshang LS256 Ultrasonic Hardness Tester UCI Method for Small Thin Coated Complex Metal Materials Non-Destructive Hardness Testing
Compact all-in-one design, ready to use in 1 second.
As an affiliate, we earn on qualifying purchases.
As an affiliate, we earn on qualifying purchases.
How to Choose the Right Hardness Test for Your Material
When selecting a hardness test, you need to take into account your material’s type to ensure accuracy. Not all testing methods work well with every material, so compatibility is key. By matching the test method to your material, you’ll get reliable results efficiently. Incorporating creative storytelling techniques can also help communicate your testing results more effectively to stakeholders. Additionally, understanding the different dog breeds and their specific needs can serve as an analogy for selecting the appropriate testing method—just as each breed requires tailored care, each material demands a suitable testing approach. Recognizing the material’s properties beforehand can further streamline the process and improve test selection. Being aware of industry standards can also help ensure your testing methods meet regulatory requirements and achieve consistent results. Knowing the horsepower of electric dirt bikes can be useful when considering the durability and stress factors of different materials used in testing equipment.
Material Type Considerations
Choosing the right hardness test depends heavily on the material you’re working with, as different materials respond differently to various testing methods. Your alloy selection impacts how the material behaves under stress, while surface finish influences the accuracy of the test. To select appropriately, picture these scenarios:
- A polished, smooth surface that allows deep, accurate readings without interference.
- A rough or uneven surface where indirect or non-destructive methods prevent surface damage.
- A delicate alloy that needs gentle testing, avoiding indentation that could alter its properties.
Additionally, understanding the material properties helps ensure the chosen method provides reliable results without compromising the integrity of the item. Considering test method compatibility is crucial to match the testing technique with the specific material characteristics. Recognizing surface finish considerations can also improve test accuracy and prevent measurement errors.
Test Method Compatibility
Selecting the appropriate hardness test method depends on understanding how different techniques interact with your material’s characteristics. Consider factors like calibration standards and test surface preparation to guarantee accurate results. For instance, some methods require smooth, clean surfaces, while others tolerate rougher textures. The right test avoids damaging the material and provides reliable data quickly. To help, here’s a quick comparison:
| Test Method | Suitable Material | Surface Prep Needed |
|---|---|---|
| Rockwell | Metals, plastics | Minimal |
| Vickers | Thin materials | Fine polishing |
| Brinell | Coarse surfaces | Light grinding |
| Knoop | Thin coatings | Polished surface |
| Shore | Elastomers | No prep needed |
Matching your material with the correct method ensures precise, repeatable hardness measurements. Additionally, understanding the test method compatibility can greatly improve testing efficiency and accuracy. Proper selection reduces the risk of measurement errors and helps in diagnosing potential material failures more effectively.
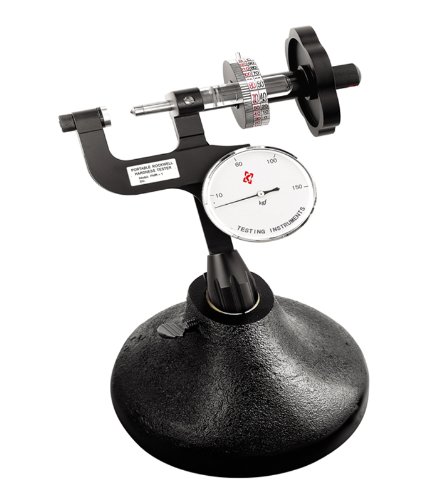
PHR-1 Small Portable Rockwell Hardness Tester (PHR-1)
PHR-1 rockwell hardness tester is small and light. Its min weight is only 0.8kg.
As an affiliate, we earn on qualifying purchases.
As an affiliate, we earn on qualifying purchases.
How Hardness Testing Detects Hidden Wear Failures
Hardness testing helps you identify hidden material weaknesses that aren’t visible to the naked eye. It quickly detects surface anomalies that could lead to future failures, saving you time and money. By catching these issues early, you prevent costly breakdowns and extend the life of your components. Additionally, incorporating growth mindset principles into maintenance routines encourages continuous improvement and proactive problem-solving. Regularly performing material analysis can further enhance your ability to detect potential failures before they occur. Understanding Free Floating systems in materials can inform better testing techniques and improve predictive maintenance strategies. Implementing preventive maintenance strategies based on testing results ensures ongoing system reliability, especially when combined with digital safety tools to monitor and analyze testing data in real time.
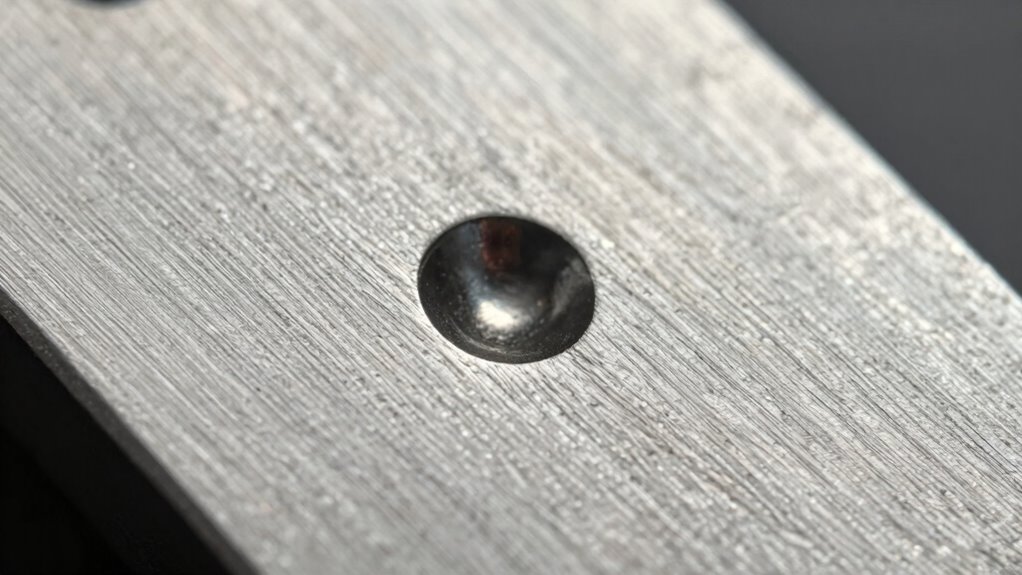
Identifying Hidden Material Weaknesses
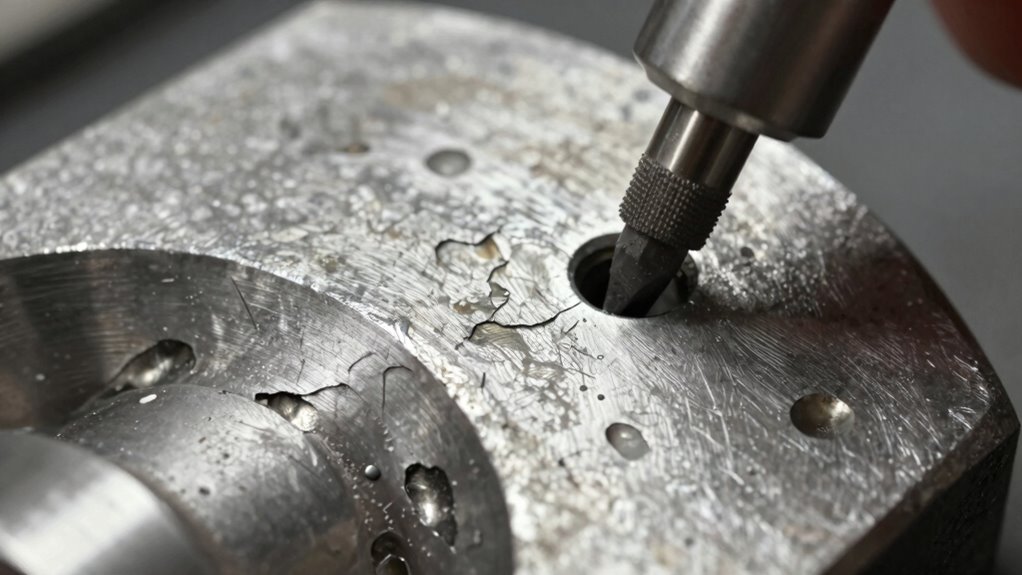
Hidden material weaknesses often escape visual inspection but can lead to sudden failures if left undetected. Hardness testing helps reveal these flaws by measuring how resistant a material is to deformation, which indicates underlying issues. For example, it can uncover:
- Areas suffering from material fatigue, where repeated stress weakens internal structures.
- Zones experiencing surface degradation, which may be invisible but compromise strength.
- Micro-cracks or internal voids that reduce the material’s ability to withstand loads.
- Material properties that influence the overall durability and performance of components.
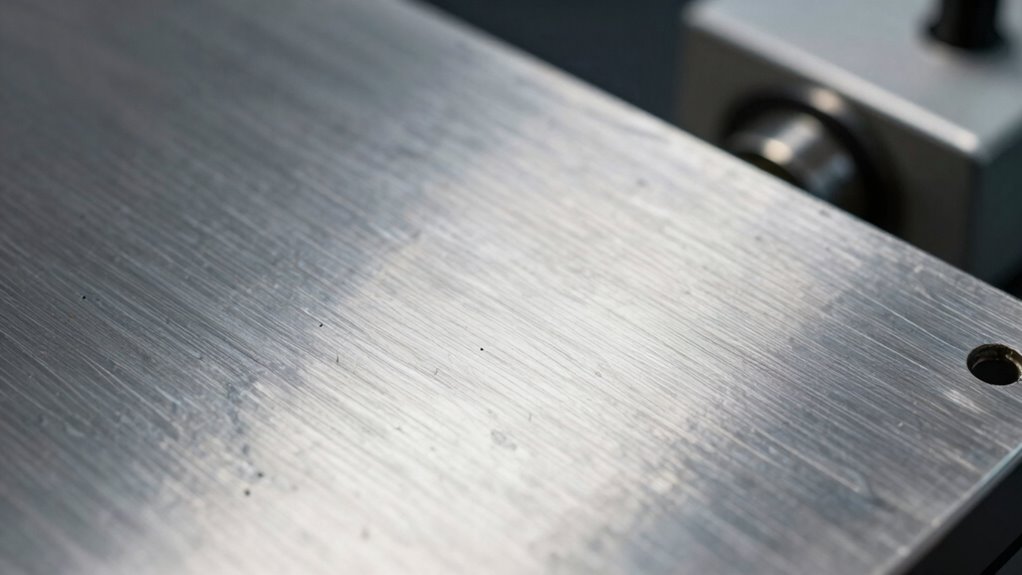
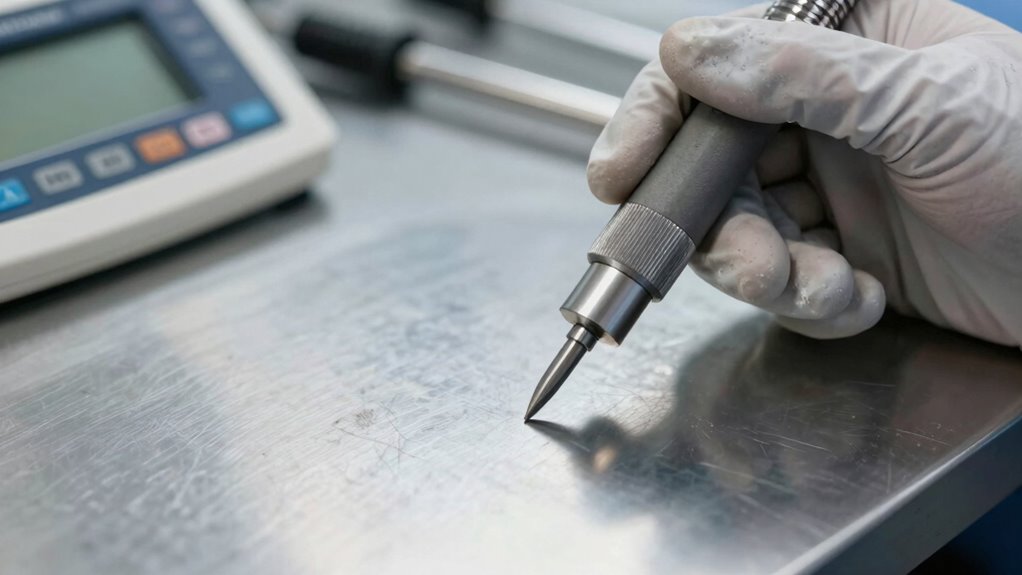
Detecting Surface Anomalies Quickly
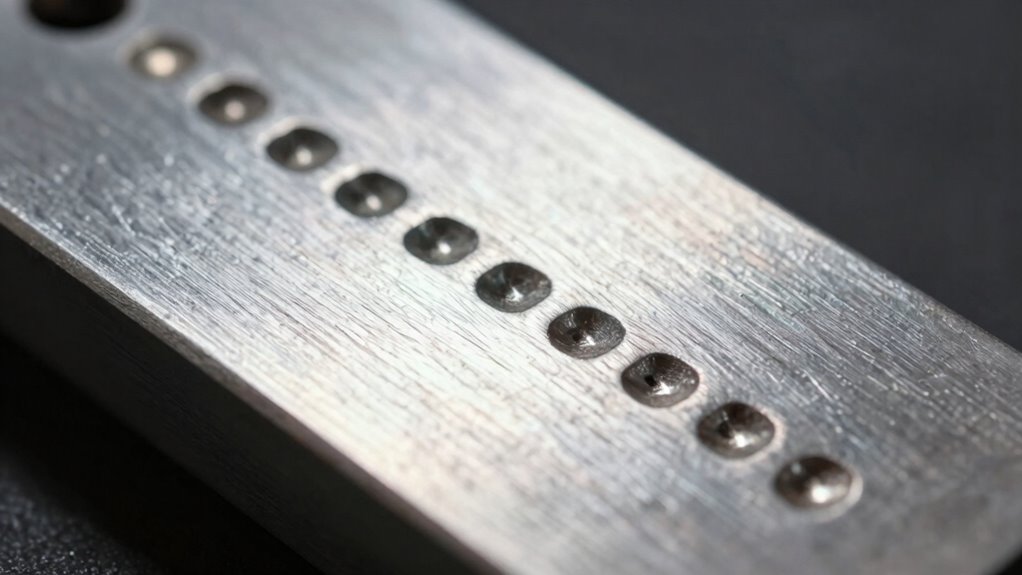
While visual inspections can miss subtle surface issues, hardness testing offers a rapid way to identify these anomalies before they cause failure. Surface marks, often overlooked, can indicate underlying wear or stress concentrations that weaken the material. Hardness testing quickly reveals variations in surface hardness, flagging areas where coating adhesion may be compromised or where surface damage has altered the material’s properties. By detecting these irregularities early, you can address potential failure points before they escalate. This method provides a direct, non-destructive way to assess surface integrity, saving you time and money. Recognizing surface marks and adhesion issues through hardness testing ensures that hidden wear failures are caught promptly, maintaining equipment reliability and extending component lifespan. Surface integrity assessments can also help identify issues stemming from manufacturing defects or improper material handling.
Preventing Costly Failures
By detecting subtle changes in surface hardness early, hardness testing plays an essential role in preventing costly failures caused by wear and material degradation. Through metallurgical analysis and surface profiling, you can identify hidden issues before they escalate. Imagine:
- Pinpointing micro-cracks that weaken components, saving you from unexpected breakdowns.
- Detecting areas of softening that signal ongoing corrosion or fatigue.
- Monitoring surface hardness variations to ensure consistent quality during manufacturing. These insights enable you to take proactive measures, such as adjusting processes or replacing worn parts, before failures occur. Hardness testing reveals the unseen, helping you avoid expensive repairs, downtime, and safety hazards. By integrating these techniques into your maintenance routine, you safeguard your equipment and optimize performance.
How to Read and Interpret Hardness Test Results
Reading and interpreting hardness test results requires understanding the specific scale and units used, as well as how the values relate to material properties. First, verify your tester is calibrated against recognized standards to guarantee accuracy. When reviewing results, compare the readings to calibration standards for your material type. The table below helps clarify test interpretation:
| Hardness Scale | Typical Material | Interpretation |
|---|---|---|
| HRB | Soft metals | Low hardness |
| HRC | Hard steels | High hardness |
| Brinell | Castings | Bulk material info |
| Vickers | Thin materials | Precise small areas |
Always cross-reference the test result with material specifications to determine if the component meets required standards. Proper interpretation depends on understanding the scale, units, and calibration standards.
Common Challenges and Limitations of Hardness Testing
Hardness testing, though widely used, faces several challenges that can affect the accuracy and reliability of results. One major sample challenge is obtaining a representative specimen, as surface conditions and microstructures can skew readings. Testing limitations also arise when materials are too thin or irregular, making standard methods difficult to apply. Additionally, environmental factors like temperature and surface contamination can interfere with measurements. Imagine these challenges as:
Hardness testing challenges include surface conditions, microstructure, material size, and environmental factors affecting accuracy.
- Testing on rough or uneven surfaces that distort indentation results
- Working with small or complex parts that restrict proper contact
- Accounting for material heterogeneity that causes inconsistent hardness values
These issues highlight how sample challenges and testing limitations can lead to misleading results. Recognizing these obstacles is essential to ensure you interpret hardness data correctly and avoid costly errors in quality assessment.
Practical Tips for On-Site Hardness Testing Success
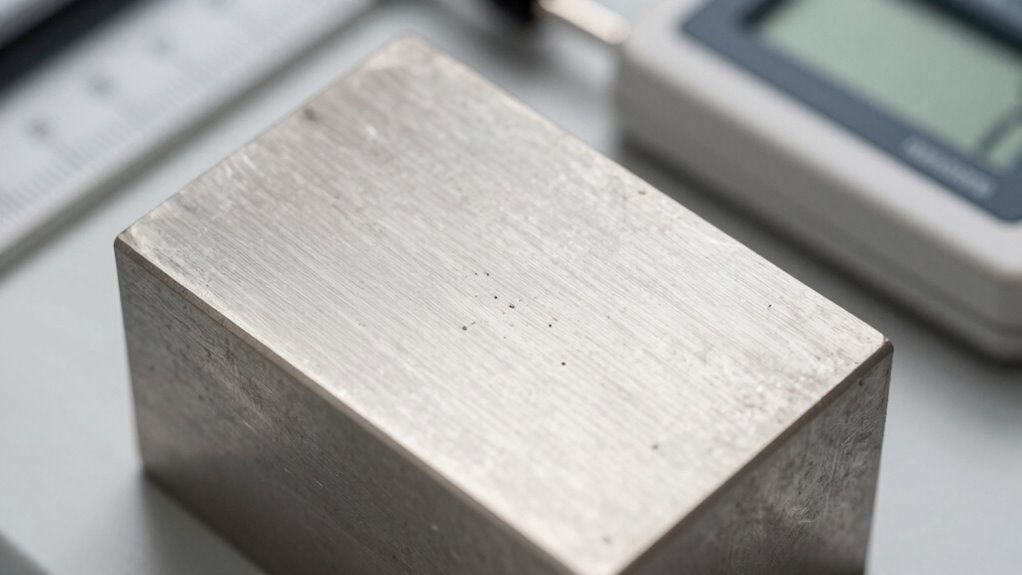
To achieve accurate results during on-site hardness testing, preparation is key. Confirm the test surface is clean, dry, and free of debris to prevent surface deformation that could skew results. Properly calibrate your testing device with the correct reference block for the alloy hardness you’re evaluating. Apply consistent, firm pressure to minimize surface deformation, which can affect the reading. Take multiple measurements across different areas of the component to account for potential variations in alloy hardness. Always handle the equipment carefully to avoid damaging the surface, as even minor imperfections can impact the test. By following these tips, you’ll obtain reliable data that accurately reflects the material’s true hardness, helping you identify wear issues efficiently in the field.
Real-World Cases: Hardness Testing Uncovers Wear Failures
Real-world cases demonstrate how hardness testing can reveal hidden wear failures before they lead to catastrophic breakdowns. By evaluating material fatigue and adhering to testing standards, you can identify early signs of wear. Imagine:
- Detecting inconsistent hardness in a gear shaft that’s quietly developing cracks.
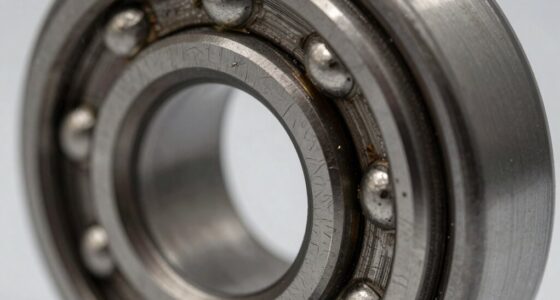
- Spotting soft spots in a bearing surface that signal impending failure.
- Uncovering micro-fractures in a turbine blade that standard inspections miss.
These examples show how hardness testing exposes subtle signs of deterioration, helping you prevent costly downtime. It’s a fast, reliable way to gauge whether components are suffering from fatigue or wear beyond acceptable limits. Applying testing standards ensures your results are accurate, guiding proactive maintenance decisions.
Incorporating Hardness Testing Into Your Maintenance Routine
Incorporating hardness testing into your maintenance routine transforms routine checks into proactive measures that catch wear issues early. Regular testing with reliable equipment ensures you identify potential problems before failure occurs. To achieve accurate results, establish clear calibration procedures for your testing equipment, verifying its precision periodically. Incorporate portable hardness testers or fixed testing devices into your inspection schedule, making tests quick and minimally disruptive. Use consistent testing techniques and record results systematically to track wear patterns over time. By integrating hardness testing into your routine, you enable maintenance teams to make informed decisions, prioritize repairs, and extend equipment lifespan. This proactive approach reduces downtime and maintenance costs, ultimately enhancing operational reliability and safety.
Frequently Asked Questions
Can Hardness Testing Be Performed on Non-Metallic Materials?
Yes, you can perform hardness testing on non-metallic materials. For polymer hardness, you typically use durometer tests to assess their flexibility and resistance. Ceramic testing involves specialized methods like indentation or scratch tests to evaluate surface durability. These techniques help you understand material properties, ensuring proper application and preventing failures. So, whether it’s polymers or ceramics, hardness testing gives you valuable insights into non-metallic materials’ performance.
How Does Surface Finish Affect Hardness Test Accuracy?
Imagine you’re a detective in the 1920s, and surface finish plays a vital role in your investigation. Surface roughness can considerably impact hardness test accuracy by causing uneven contact, leading to inconsistent readings. To guarantee precise results, you should follow strict calibration procedures that account for surface finish. A smooth, well-prepared surface minimizes variability, allowing you to confidently determine the material’s true hardness without the influence of surface irregularities.
What Maintenance Is Required for Hardness Testing Equipment?
You should regularly perform calibration procedures on your hardness testing equipment to make certain accurate results. Keep the equipment clean and store it properly to prevent damage, which extends its longevity. Check for wear on indenters and load mechanisms, replacing parts as needed. Routine maintenance like these helps maintain precision, reduces downtime, and ensures your testing remains reliable over time. Proper care is key to consistent, trustworthy hardness measurements.
Are There Industry Standards Dictating Hardness Testing Procedures?
You should know that industry standards for hardness testing are as vital as a lighthouse in a storm. They dictate specific testing procedures to guarantee accuracy and consistency across industries. Organizations like ASTM and ISO set these standards, guiding you on proper methods, equipment calibration, and interpretation. Following these guidelines helps you avoid costly errors and guarantees reliable results, making your hardness testing as dependable as a trusted compass.
How Long Does a Typical Hardness Test Take?
A typical hardness test usually takes just a few minutes, especially with quick calibration and a stable test environment. You’ll want to make certain the equipment is properly calibrated beforehand to get accurate results quickly. Once set up, you can perform the test efficiently, often within 2 to 5 minutes, depending on the material and method used. This speed helps you identify wear issues promptly without disrupting your workflow.
Conclusion
By mastering hardness testing, you’ll reveal the secret to catching wear failures before they turn into disaster. It’s a game-changer that can save your equipment from catastrophic breakdowns—arguably more powerful than a superhero’s shield. Keep honing your skills, choose the right methods, and stay vigilant. With these tools, you’ll be unstoppable in maintaining peak performance and preventing mystery failures from sneaking up on you. Your machinery’s longevity depends on it—don’t leave it to chance!