
Viscosity testing at home may seem quick and easy, but it often leads you to false conclusions. DIY methods like drop tests and visual checks are unreliable because they’re affected by temperature, inaccurate tools, and inconsistent procedures. Relying solely on these shortcuts can give you a misleading idea of your fluid’s true flow properties. To avoid mistakes, it’s wise to understand the limitations and discover better techniques—keep going to learn more.
Key Takeaways
- DIY viscosity tests rely on subjective judgment and makeshift tools, leading to unreliable and inconsistent results.
- Drop tests and timing methods are affected by external factors like temperature and surface tension, reducing accuracy.
- Homemade viscometers often lack proper calibration, causing measurement errors and limiting data reliability.
- Temperature fluctuations significantly impact viscosity readings, so consistent temperature control is essential.
- For critical or precise measurements, professional testing ensures accurate, certified viscosity data beyond DIY shortcuts.

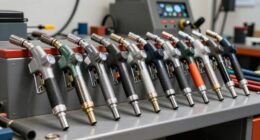
Bonvoisin Digital Rotary Viscometer 10-2,000,000mPa.S Touch Screen Viscosity Meter with 4 Rotors and Temperature Probe ±1% Accuracy 100-240V (NDJ-8T)
Application: The viscometer is used for testing the apparent viscosity of non-Newtonian fluid and the absolute viscosity of…
As an affiliate, we earn on qualifying purchases.
As an affiliate, we earn on qualifying purchases.
Why Viscosity Matters and How Home Tests Can Be Misleading
Understanding viscosity is essential because it determines how well a fluid flows and performs in various applications, from engine oils to homemade sauces. In fluid dynamics, viscosity influences how fluids move, affecting engine efficiency or sauce consistency. Accurate measurement is critical, especially at home, where simple tests may seem reliable but often lack precision. Small errors in timing or temperature can lead to misleading results, making it hard to gauge a fluid’s true viscosity. Relying solely on homemade tests risks misjudging a fluid’s performance, which could cause mechanical issues or subpar culinary results. Recognizing the importance of measurement accuracy helps you understand why professional tests are more reliable and why DIY methods can sometimes deceive you, leading to incorrect assumptions about your fluids’ qualities. Additionally, measurement precision plays a crucial role in obtaining consistent and trustworthy results. Furthermore, understanding the limitations of at-home testing can help you avoid overestimating your results and making costly mistakes. Being aware of specification standards can also guide you in selecting the right fluids for your needs and prevent misinterpretations caused by informal testing methods. Knowing about industry standards for viscosity testing can further improve your ability to interpret results accurately. Incorporating proper testing techniques is vital to minimize errors and obtain more reliable data.

GLTL Slurry Test Kit,Mud Hydrometer,Mud Viscometer,Marsh Funnel and Viscosity Cup
The Slurry Test Kit Model is a field portable kit designed for measuring the properties of slurries formulated…
As an affiliate, we earn on qualifying purchases.
As an affiliate, we earn on qualifying purchases.
Common Myths About DIY Viscosity Testing
Many people believe that simple home tests are enough to accurately measure viscosity, but this isn’t always true. Common misconceptions can lead you to underestimate or overestimate your results, making your data unreliable. Understanding these myths helps you avoid mistakes and get more accurate insights from your DIY testing. For example, calibration is essential to ensure your tools provide correct readings and avoid misleading conclusions. Additionally, factors like testing environment can significantly influence viscosity measurements, so controlling variables is crucial for reliable results. Recognizing measurement techniques can further improve the accuracy of your assessments and prevent errors. Being aware of measurement errors can help you identify and correct common pitfalls in DIY viscosity testing. Ensuring proper instrument maintenance also plays a critical role in maintaining the accuracy of your measurements.
Common Testing Misconceptions
Despite common beliefs, DIY viscosity testing often involves misconceptions that can lead to inaccurate results. Many assume that simple methods guarantee precise viscosity measurement without considering proper techniques. For example, rushing the process or using uncalibrated tools can compromise testing accuracy. Some believe that temperature doesn’t considerably affect results, but viscosity is highly sensitive to temperature changes. Others think that visually judging consistency is enough, ignoring the importance of standardized timing and equipment. These misconceptions can cause you to misinterpret your data, leading to false conclusions about your material’s flow properties. To improve testing accuracy, it’s essential to understand these pitfalls and follow consistent procedures, ensuring your viscosity measurement truly reflects the material’s true behavior. Additionally, user consent management plays a role in ensuring the proper handling of data related to your testing processes and results. Properly controlling testing conditions, such as temperature and timing, and understanding the importance of Free Floating in certain measurement techniques can significantly improve the reliability of your measurements. Recognizing the impact of measurement calibration is also crucial for obtaining valid and reproducible results. Furthermore, understanding the effect of temperature on viscosity can help you select the most appropriate testing conditions for accurate results.
Inaccurate Home Methods
Common myths about DIY viscosity testing can lead you to rely on methods that are inherently inaccurate. Many believe that simple home techniques can provide precise measurement accuracy, but this isn’t true. These methods often depend on subjective judgment, which varies from person to person and introduces inconsistency. For example, using a makeshift viscometer or timing how long a fluid takes to flow can seem straightforward, but factors like temperature, measurement timing, and tool calibration affect results. Relying solely on these approaches can give you a false sense of certainty, hiding the true variability in your measurements. Without proper tools and standardized procedures, your results are prone to error, making it difficult to trust any conclusions about your fluid’s viscosity. Additionally, vetted methods are essential to ensure accurate testing, but they are often overlooked in DIY setups. Recognizing the importance of standardized procedures can significantly improve the reliability of your viscosity assessments.
Furthermore, understanding the correct testing environment can help mitigate some of the inaccuracies caused by external factors influencing the results.
Overestimating Results
It’s easy to fall into the trap of overestimating your measurement accuracy when testing viscosity at home, especially if you rely on quick or simplistic methods. Many assume their results perfectly reflect the oil viscosity or flow consistency, but this isn’t always the case. Relying solely on visual cues or timing methods can lead you to believe the oil flows more smoothly or thickens less than it actually does. You might think your oil has ideal viscosity, but subtle variations can considerably impact performance. Overestimating results prevents you from recognizing issues like thinning or thickening that affect lubrication and engine health. To get a more accurate picture, avoid assumptions and consider more precise tools or standardized testing techniques, even if they seem more complicated. Understanding viscosity is crucial for maintaining optimal engine performance and longevity. Additionally, familiarizing yourself with proper testing procedures can help reduce errors and improve the reliability of your assessments.

PYPYP Laboratory Digital Brookfield Viscometer DH-DJ-8S for Beginners DIY(DH-DJ-9S)
Displaying measuring data directly.no need to do the manual calculation.
As an affiliate, we earn on qualifying purchases.
As an affiliate, we earn on qualifying purchases.
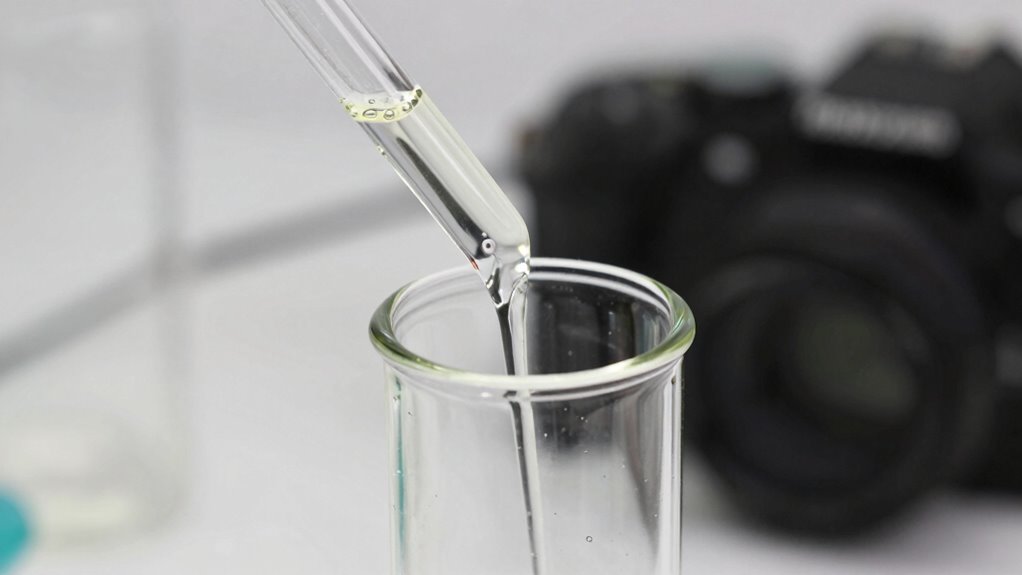
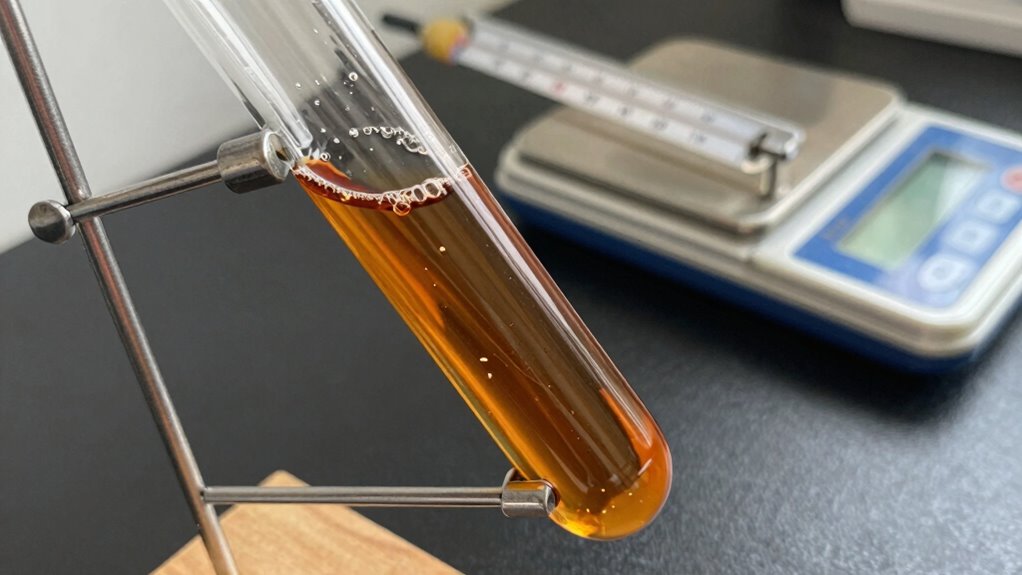
Why Drop Tests Are Usually Unreliable
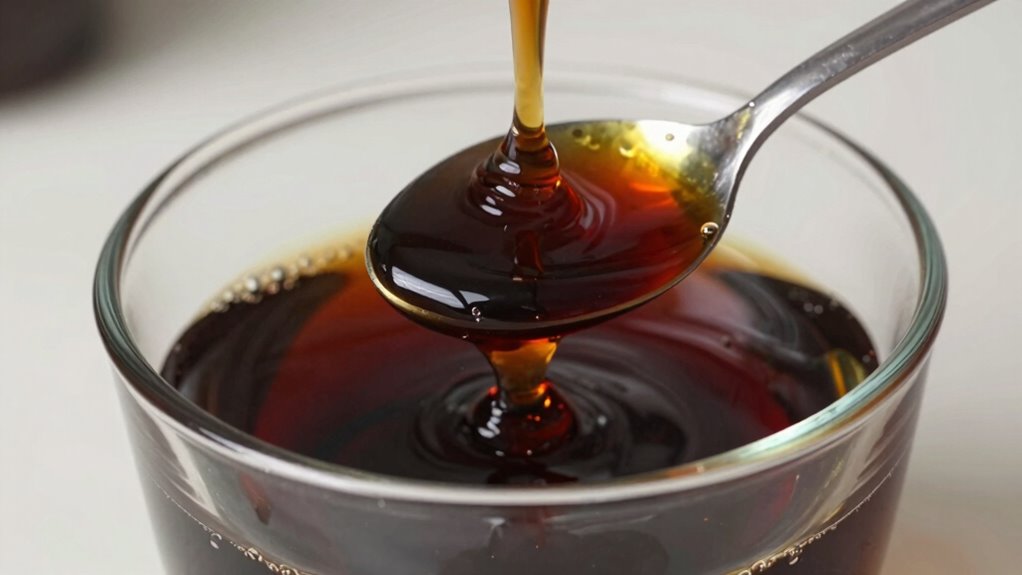
Drop tests can be unreliable because the size of each drop varies, making it hard to get consistent results. You might notice that drops don’t always form the same way, which affects how accurately you can judge viscosity. These inconsistencies can lead to misleading conclusions about your fluid’s properties. Additionally, passive voice detection tools can help identify and improve unclear or passive constructions in your writing. Variations in drop formation can also be influenced by test environment conditions, further compromising accuracy. Understanding how fluid dynamics impact drop formation can help you interpret results more accurately, especially when considering how scent dispersion is affected by viscosity in aroma diffuser applications.
Variability in Drop Size
Have you ever noticed how small differences in how a drop falls can make testing viscosity unreliable? That’s due to drop variability, which directly impacts measurement precision. When you release drops, factors like gravity, surface tension, or even slight inconsistencies in your setup cause each drop to vary in size. These tiny differences might seem insignificant, but they can skew your results, making your viscosity readings inaccurate. Variability in drop size means you can’t trust that each drop represents the same volume, leading to inconsistent measurements. Without precise control over drop formation, your test results become unreliable. This unpredictability is one of the main reasons drop tests aren’t suitable for accurate viscosity measurement at home, where consistency is hard to achieve.
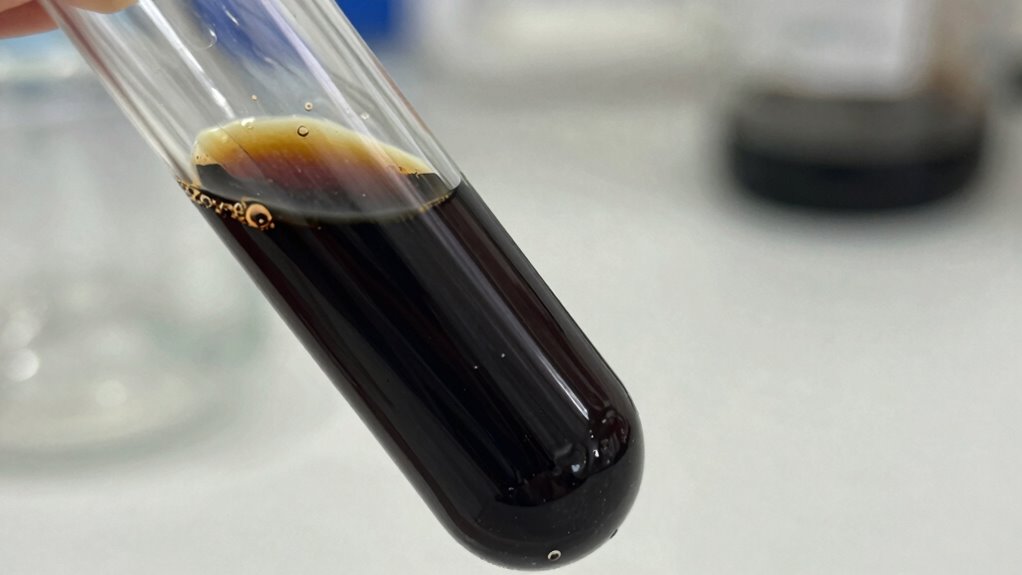
Inconsistent Drop Formation
When drops don’t form consistently, your viscosity measurements become even more unreliable. Inconsistent drop formation increases measurement variability, making it hard to trust your results. Factors like surface tension, temperature, or uneven flow can cause drops to vary in size or shape. This measurement variability leads to unpredictable drop detachment, skewing your viscosity readings. To illustrate, consider the following:
| Factor | Effect on Drop Formation | Resulting Variability |
|---|---|---|
| Surface Tension | Alters drop shape and size | Unpredictable drop detachment |
| Temperature | Changes fluid viscosity | Irregular drop flow |
| Tube Diameter | Impacts flow rate | Inconsistent drop size |
Additionally, proper calibration of your equipment is essential to minimize errors caused by these factors. Regularly checking calibration helps account for measurement inconsistencies and ensures more reliable results.
Bonvoisin Digital Rotary Viscometer 10-2,000,000mPa.S Touch Screen Viscosity Meter with 4 Rotors and Temperature Probe ±1% Accuracy 100-240V (NDJ-8T)
Application: The viscometer is used for testing the apparent viscosity of non-Newtonian fluid and the absolute viscosity of…
As an affiliate, we earn on qualifying purchases.
As an affiliate, we earn on qualifying purchases.
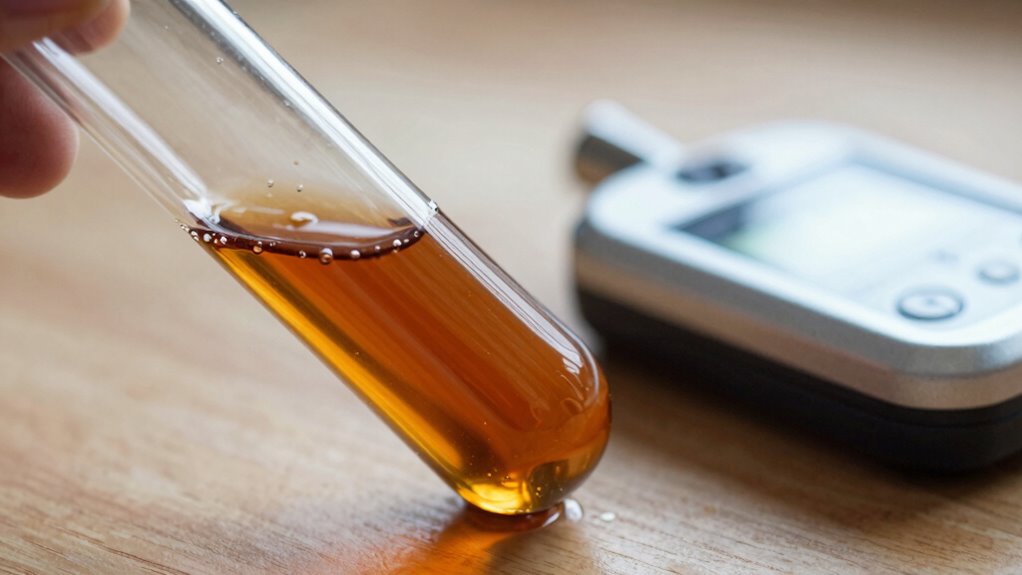
How Temperature Influences Viscosity and Why It Matters
Temperature plays a essential role in determining a liquid’s viscosity, directly affecting how easily it flows. When temperature increases, the molecules move faster, causing a viscosity change that makes the liquid thinner and flow more easily. Conversely, lowering the temperature slows molecular movement, thickening the liquid and increasing its viscosity. These temperature effects are critical because they can distort your viscosity readings if not controlled. For example, a hot sample may appear less viscous than it truly is, leading to inaccurate conclusions. Understanding this relationship helps you interpret your homemade measurements more accurately. By maintaining consistent temperature conditions or noting temperature changes during testing, you guarantee your results are reliable and meaningful. This awareness is necessary for proper viscosity assessment at home.
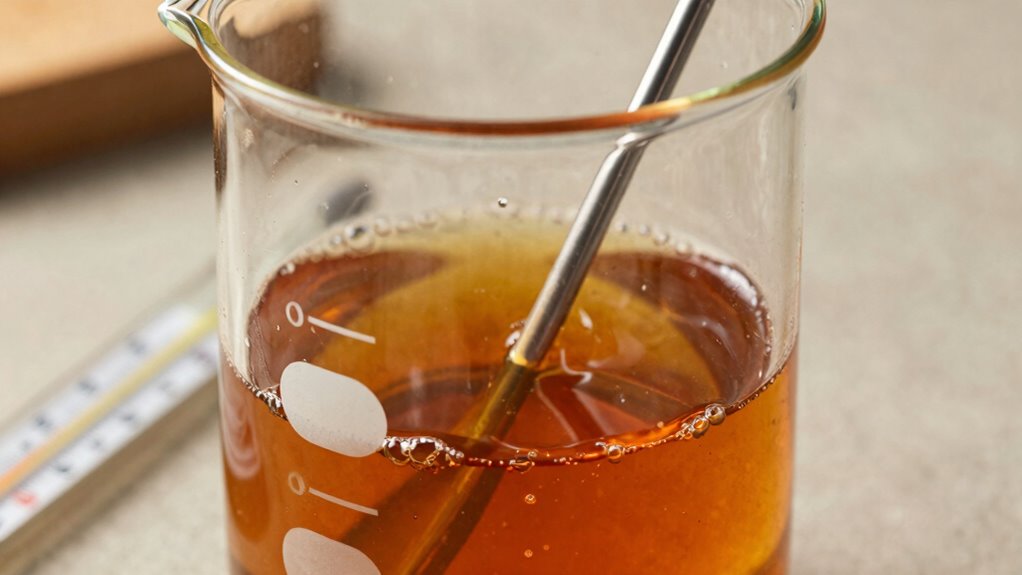
Limitations of Homemade Viscometers You Should Know
While understanding how temperature impacts viscosity helps improve measurement accuracy, homemade viscometers come with inherent limitations that can affect your results. One major issue is hydrometer calibration; without proper calibration, your readings may be off, leading to inaccurate conclusions. Additionally, sample preparation poses challenges—if the sample isn’t consistent in temperature or thoroughly mixed, your measurements won’t be reliable. Homemade devices often lack precise control over flow rates, making it difficult to compare results over time or with standardized data. These limitations mean your viscosity readings are rough estimates at best. To get better results, you need to focus on accurate calibration and consistent sample preparation, even if it’s just a simple homemade setup.
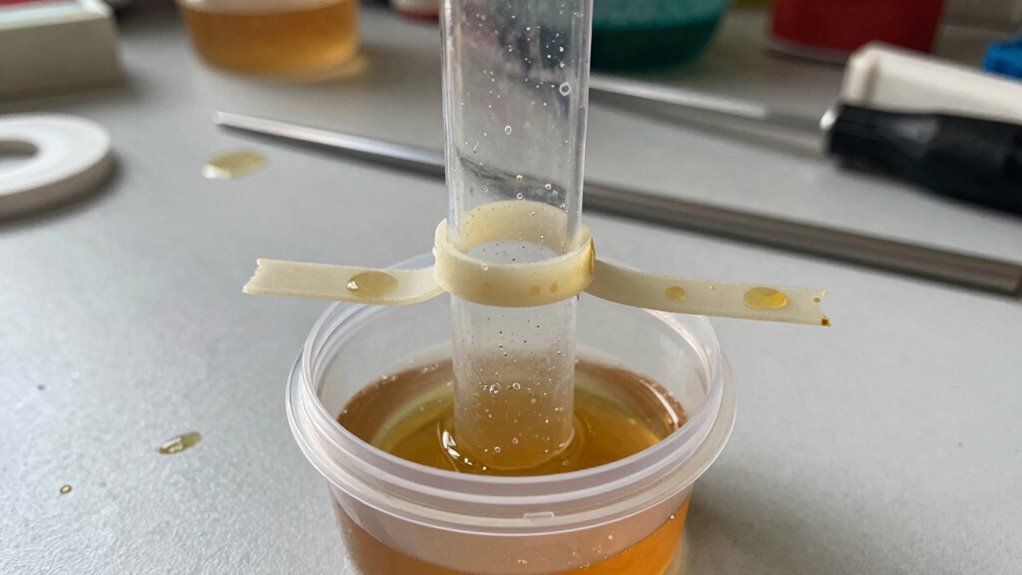
Why Relying Only on Flow Rate or Timing Can Trick You
Relying solely on flow rate or timing to measure viscosity can be misleading because these methods don’t account for the complex behavior of fluids. If your instrument isn’t properly calibrated, your readings won’t be accurate, leading to false conclusions. Additionally, sample preparation plays a vital role; inconsistent or improperly prepared samples can skew your results, regardless of how precisely you time the flow. Flow rate and timing alone ignore factors like temperature variations or fluid interactions within the apparatus. Without considering these elements, you risk making inaccurate assessments of viscosity. To get reliable results, you need to make sure your instrument is calibrated correctly and that your sample preparation is consistent and thorough. Otherwise, your measurements won’t truly reflect the fluid’s viscosity.
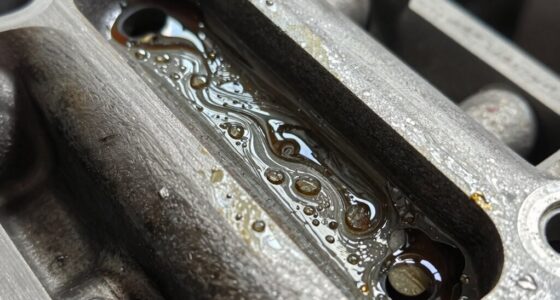
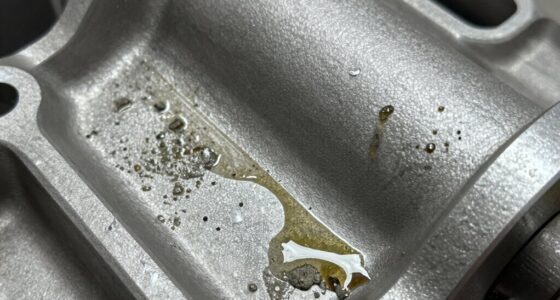
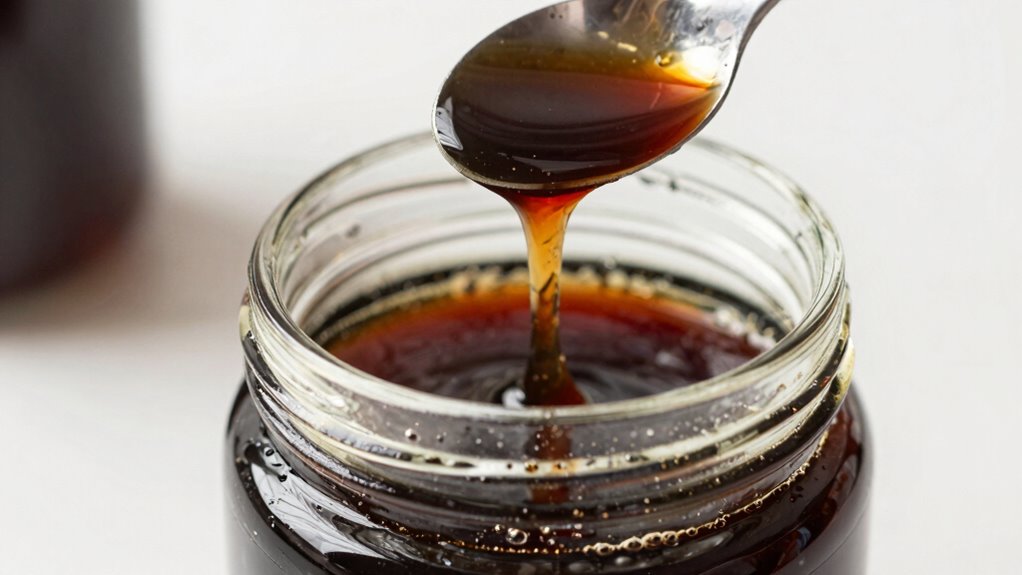
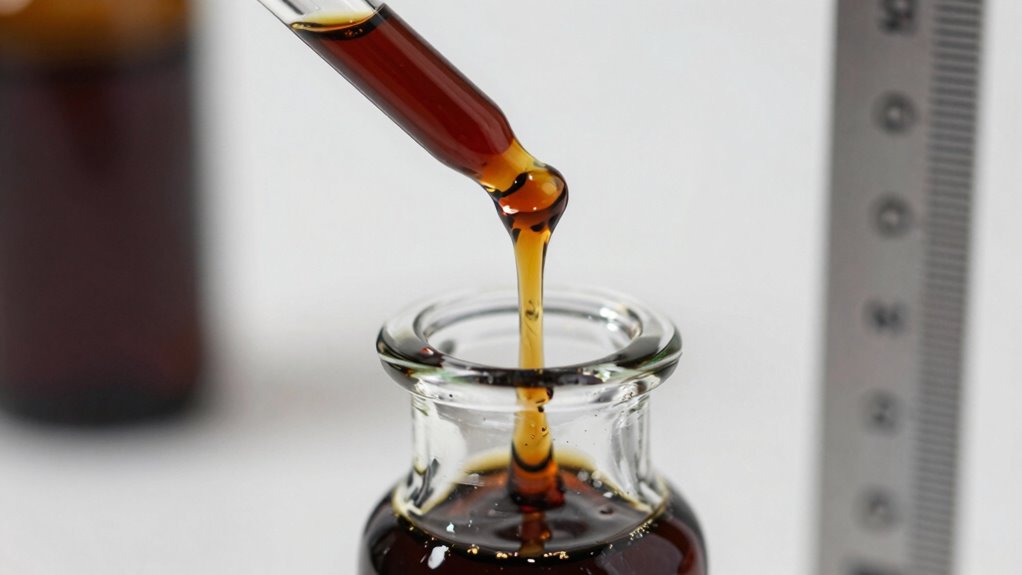
Visual Cues Can Deceive Your Viscosity Judgments
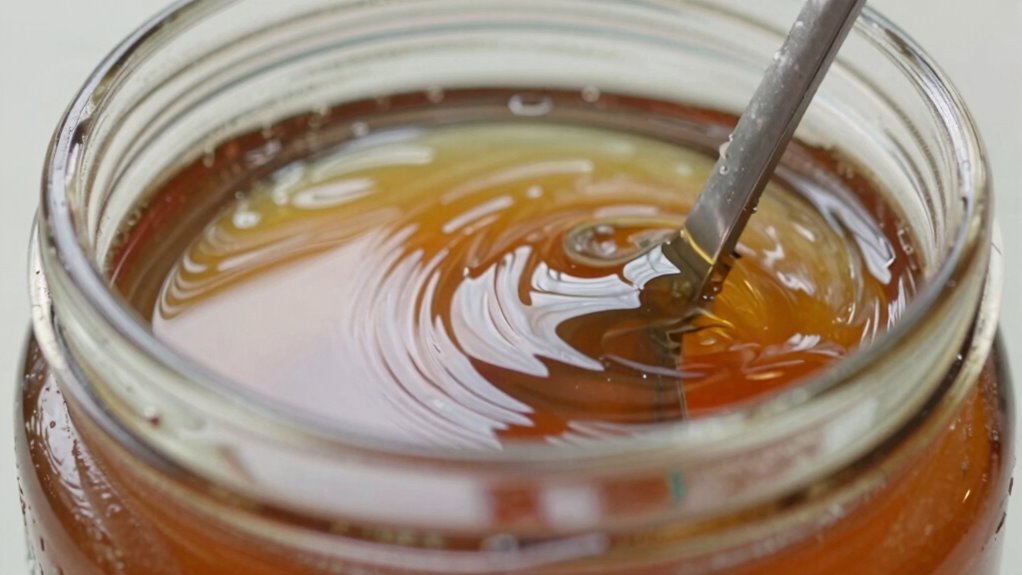
Visual cues can be deceptive when evaluating viscosity because appearances don’t always tell the full story. Relying solely on visual cues—such as thickness, glossiness, or the way a liquid drapes—can lead you astray. Sensory evaluation involves more than just what you see; it requires careful observation of how a fluid behaves during flow, not just its look. For example, a thick-looking liquid might flow easily, while a seemingly thin one could resist movement. Don’t be fooled by visual cues alone. Instead, combine your observations with other tests to get a more accurate judgment. Remember, appearances can be misleading, and true viscosity understanding comes from a holistic approach that includes but isn’t limited to visual assessment.
How to Calibrate and Standardize Your DIY Tests
To obtain reliable results, you need to utilize the same measurement tools each time. Performing multiple trials and recording your data helps identify inconsistencies and improve accuracy. By analyzing your results regularly, you can guarantee your DIY viscosity tests stay consistent and dependable.
Use Consistent Measurement Tools
Ensuring your viscosity tests are accurate begins with using consistent measurement tools. When you stick to the same equipment, you maintain measurement consistency, reducing errors caused by tool variability. Always calibrate your tools regularly to guarantee they provide accurate readings. Check your measuring cups, timers, and any other devices before each test, following manufacturer instructions or using known standards. Using different tools or neglecting calibration can lead to inconsistent results, making it harder to compare tests over time. By maintaining a strict routine of using the same measurement tools and calibrating them properly, you create a reliable baseline for your viscosity testing. This consistency helps you track changes accurately and makes your DIY testing more trustworthy.
Perform Multiple Trials Regularly
Performing multiple trials regularly is essential to obtaining accurate and reliable viscosity measurements. This approach helps account for minor variations in fluid dynamics and guarantees measurement accuracy. To effectively standardize your tests, imagine:
- Setting up a clean, consistent testing environment each time, like a lab bench.
- Timing how long the fluid takes to flow through a calibrated tube, observing subtle differences.
- Repeating the process several times to spot patterns or inconsistencies, like a scientist carefully adjusting variables.
Record and Analyze Data
Recording and analyzing your data accurately is the key to obtaining meaningful viscosity measurements. To guarantee reliable results, calibrate your tools regularly using a standard liquid with known viscosity. Track your measurements carefully, noting temperature and timing, since liquid consistency affects viscosity measurement. Use a simple table to record each trial:
| Trial | Temperature (°C) | Viscosity (cP) | Notes |
|---|---|---|---|
| 1 | |||
| 2 | |||
| 3 | |||
| 4 | |||
| 5 |
Analyzing this data helps identify trends and inconsistencies, allowing you to refine your method for more accurate, consistent results.
Practical Tips to Get Better Viscosity Results at Home
To get more accurate viscosity results at home, it’s important to prepare your testing setup carefully. First, select a consistent temperature, since oil consistency varies with heat and affects fluid dynamics. Second, use a clear container with straight sides to observe flow smoothly and reduce variables. Third, ensure your timing method is precise—use a stopwatch or timer app for consistency. Keep the environment stable to prevent temperature fluctuations that could distort your measurements. By focusing on these practical tips, you’ll minimize errors caused by inconsistent conditions or misinterpreted flow. Remember, understanding fluid dynamics and how temperature impacts oil consistency is key to reliable results. Proper setup transforms a simple test into a meaningful measurement of your oil’s true viscosity.
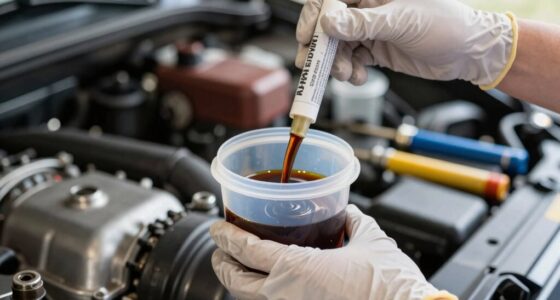
When Should You Get Professional Viscosity Testing?
While home viscosity testing can provide useful insights, there are situations where seeking professional analysis becomes necessary. If you notice inconsistent results or your sample’s visual consistency varies considerably over time, it’s time to consult experts. Professional testing offers precise measurements and reliable data, especially when your testing frequency increases or your process demands tight control. Relying solely on home methods might miss subtle changes or mislead you due to the shortcut’s limitations. If your product’s quality depends on exact viscosity levels or if you’re preparing for critical applications, professional testing ensures accuracy. Ultimately, when your observations raise doubts or you need certification, investing in expert analysis is the smarter choice.
Frequently Asked Questions
Can Homemade Viscosity Tests Replace Professional Laboratory Measurements?
Homemade viscosity tests can’t replace professional measurements because of their limitations. While home tests offer quick, convenient insights, they lack the accuracy and consistency of professional lab analysis. Professional measurement advantages include precise results, standardized procedures, and reliable data essential for critical decisions. Relying solely on home tests can lead to misjudgments, so for important applications, always trust professional lab measurements over homemade methods.
What Tools Are Best for Improving Accuracy in DIY Viscosity Testing?
Think of precision instruments as your compass in the fog of DIY viscosity testing. To improve accuracy, invest in a good viscometer or a stopwatch with high precision, and use consistent techniques for measurement. These tools help you maintain measurement consistency, making your results more reliable. Keep your setup stable and record data carefully, transforming your homemade tests from guesswork into more trustworthy approximations.
How Often Should I Calibrate My Homemade Viscometer?
You should calibrate your homemade viscometer regularly, ideally before each testing session, to guarantee consistent results. Calibration frequency depends on how often you use it and the importance of testing accuracy. If you notice inconsistent readings, calibrate more often. Maintaining consistent calibration helps improve testing consistency, giving you reliable viscosity measurements and confidence in your DIY testing process.
Are There Specific Liquids Unsuitable for Home Viscosity Testing?
You should avoid testing hazardous liquids or corrosive chemicals at home, as they pose safety risks and can damage your equipment. These substances require specialized handling, protective gear, and proper disposal methods. Testing such liquids without proper training and safety measures can lead to accidents or injuries. Stick to safe, non-hazardous liquids for home viscosity testing to guarantee your safety and reliable results.
What Signs Indicate My DIY Test Results Are Unreliable?
You might notice your DIY test results are unreliable if you see test inconsistency or reading errors. If your measurements vary considerably each time or if the device isn’t stable, your readings could be off. Also, rushing through the process or not following timing instructions can cause inaccuracies. Pay close attention to your setup and technique, and double-check your readings to guarantee more dependable results.
Conclusion
While DIY viscosity tests can seem convenient, studies show they can be off by up to 30%, leading to misleading results. Remember, your eyes and simple drop tests aren’t foolproof—think of it like trying to gauge a river’s depth by just looking at its surface. For critical applications, it’s best to rely on professional testing. Accurate viscosity measurements protect your projects and ensure safety, so don’t hesitate to seek expert help when precision truly counts.