To take a clean oil sample without contamination, start by preparing sterile bottles sealed in clean bags and gather all necessary tools. Before sampling, wipe valves with a lint-free cloth, connect the hose securely, and flush the line by opening and closing the valve several times until the oil flows clear. Carefully collect the sample without touching the inside of the container or introducing air. Keep everything clean and sealed to guarantee accurate results—you’ll find more tips below.

Get garage and car supplies delivered free — and shop member deals
- Fast, free delivery on millions of items
- Access to Prime Big Deal Days deals on October 6–7
- Prime Video, Amazon Music and more included
Key Takeaways
- Use clean, capped bottles stored in sealed zip-lock bags to prevent dirt and air contamination.
- Wipe sampling points with a lint-free cloth before connecting hoses to remove surface debris.
- Flush the sampling line multiple times until the oil flow is clear and representative.
- Handle bottles with gloves and avoid touching inside to prevent oil transfer or contamination.
- Keep bottles sealed immediately after sampling and avoid opening to the atmosphere.
Why Proper Oil Sampling Prevents Contamination and Misdiagnosis
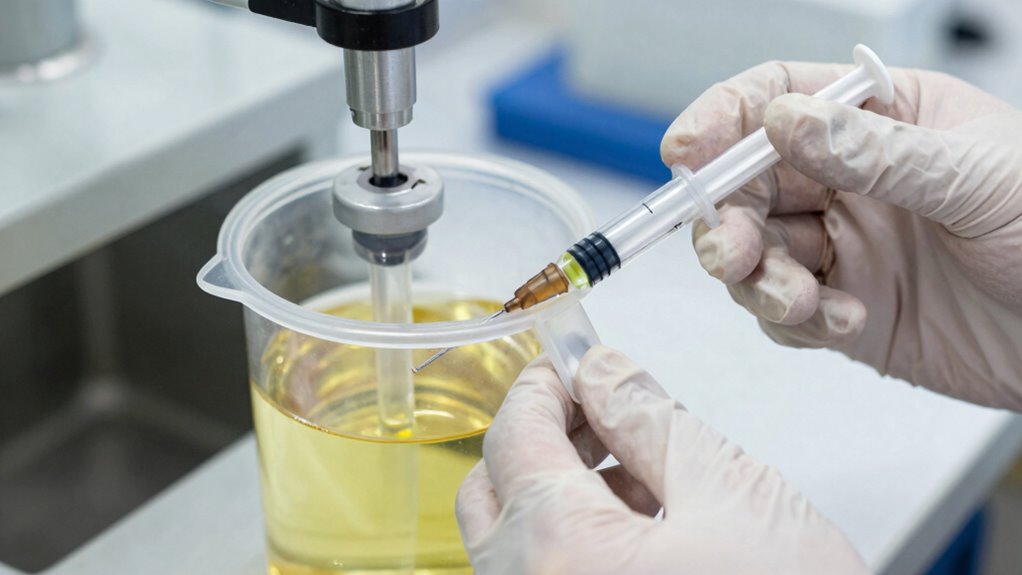
Proper oil sampling is essential because it guarantees the sample accurately reflects the true condition of the equipment’s lubricant. When you follow correct procedures, you reduce the risk of introducing dirt, debris, or air into the sample, which can skew results. Contamination can lead to false diagnoses, prompting unnecessary repairs or overlooking real issues. Handling the sample carefully, using clean tools, and avoiding exposure to the environment help maintain sample integrity. Proper techniques, like flushing lines and sealing bottles immediately after filling, prevent surface contamination. Additionally, understanding the content formats used in analysis can help interpret results more effectively. By ensuring the sample remains uncontaminated, you enable accurate analysis of wear particles, additive levels, and fluid degradation. This accuracy ultimately supports reliable maintenance decisions, extending equipment life and avoiding costly downtime caused by faulty diagnosis.
How to Prepare Equipment and Environment for Clean Oil Sampling

Preparing your equipment and environment is essential to guarantee a clean oil sample. You want to prevent contamination from dirt, dust, and airborne particles that could skew your results. Start by placing capped sample bottles into thin zip-lock sandwich bags in a clean, indoor environment to keep them dust-free. Seal the bags with the air inside to prevent particle entry. Transport the bagged bottles and sampling tools in a large zip-lock bag for added protection. Gather all necessary materials, including the sample bottle, gloves, waste bucket, and sampling hose. Before sampling, identify the correct point—such as a valve or elbow—where the oil flow is steady and representative. Proper preparation minimizes risks of contamination and ensures accurate, reliable results. Additionally, ensure your sampling environment is free from airborne dust and debris to maintain sample integrity.
Step-by-Step: Flushing and Connecting Your Sampling Equipment Correctly
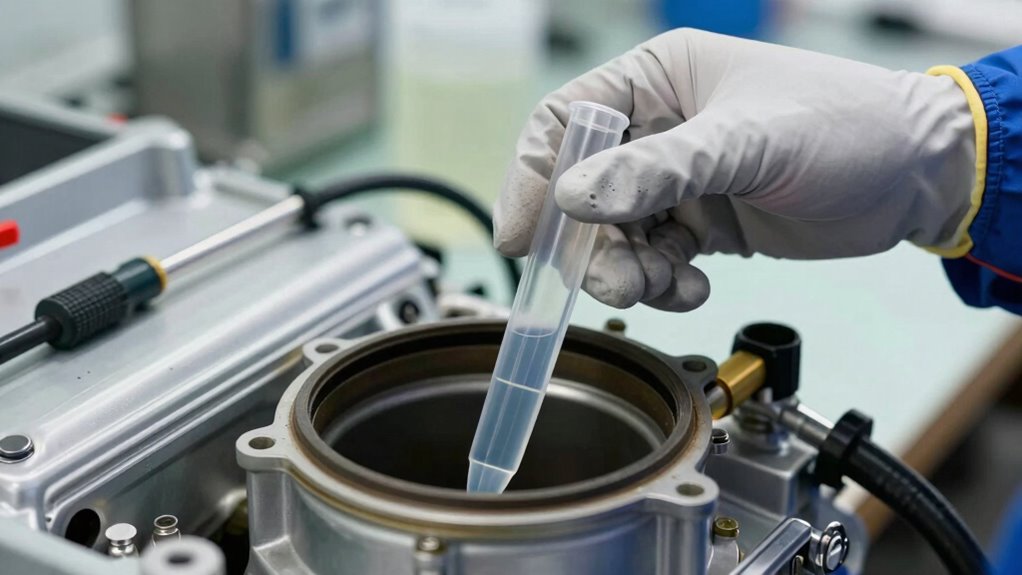
To guarantee a clean sample, start by wiping the valve or sampling point with a clean, dry, lint-free cloth to remove surface contaminants. Next, connect your sampling hose securely to the valve or pipe, ensuring a tight fit to prevent leaks. Before flushing, open the valve slightly to allow stagnant oil to drain into a waste container, removing debris and old fluid. Continue to open and close the valve 3-4 times to loosen any settled particles. Flush the line by running oil through the hose and sampling point into the waste container until the flow runs clear. Make certain the oil is at normal operating temperature. Once flushed, close the valve securely and prepare to collect your sample, avoiding contact with contaminated surfaces.
Techniques for Collecting an Uncontaminated Oil Sample
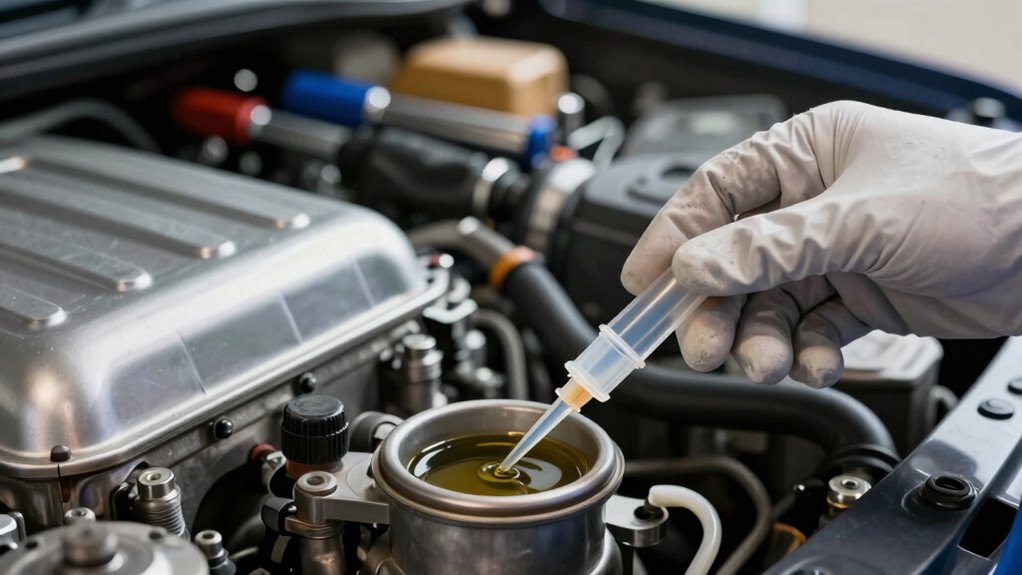
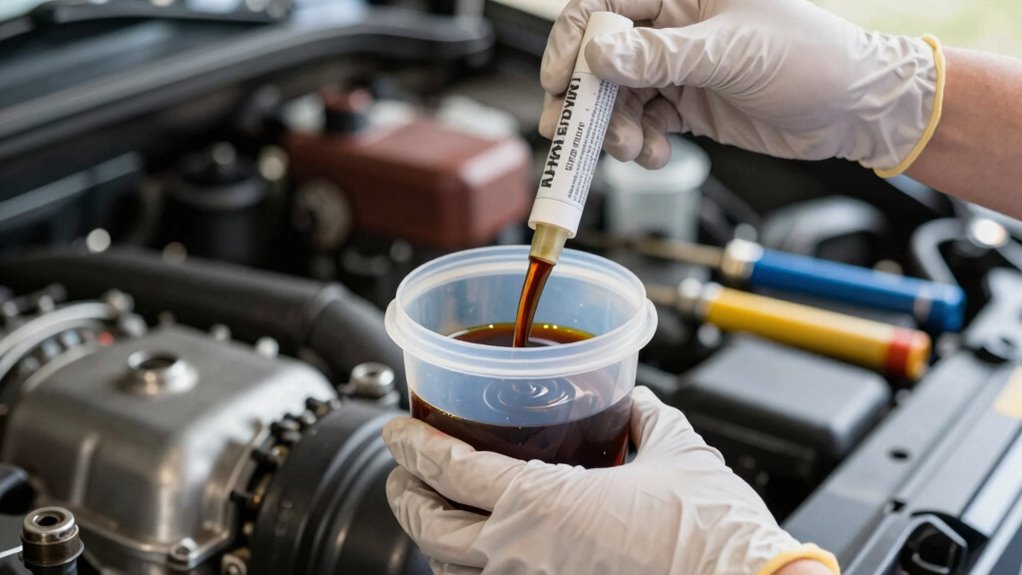
After flushing the sampling line to remove debris and stagnant oil, you need to focus on collecting the sample without introducing contamination. To do this effectively, maintain a clean environment and handle equipment carefully. Keep the sample bottle capped and sealed until use, and avoid touching the inside of the cap or bottle opening. Use gloves to prevent oil transfer from your hands. When inserting the probe or pump, do it smoothly to prevent air or dirt from entering. Fill the bottle slowly, stopping before it overflows, and leave a small air pocket if needed. Always keep the sample bottle upright and avoid contact with surfaces. Proper color accuracy ensures the sample reflects true oil conditions, so handle everything with precision.
How to Verify Your Oil Sample Is Valid and Avoid Common Mistakes

How can you guarantee your oil sample is valid and free from contamination? First, ensure proper sampling techniques—use clean equipment, avoid exposure to atmosphere, and follow flushing steps carefully. Verify the sample’s integrity by checking the sample bottle for signs of contamination, like dirt or debris. Use the following table to help identify common mistakes and their consequences:
| Mistake | Impact |
|---|---|
| Opening bottle to atmosphere | Contaminates sample, alters oil condition |
| Skipping flushing steps | Stale or stagnant fluid skews results |
| Using unclean equipment | Introduces dirt, particles, or moisture |
| Improper sealing | Leads to evaporation or airborne contamination |
Frequently Asked Questions
How Often Should I Perform Oil Sampling to Ensure Accuracy?
You should perform oil sampling every 3,000 to 5,000 miles or quarterly, whichever comes first, to guarantee accuracy. Regular sampling helps you detect wear particles, contamination, or fluid degradation early. Adjust frequency based on equipment usage, operating conditions, and manufacturer recommendations. Consistent sampling allows you to monitor oil health, plan maintenance, and prevent costly repairs, keeping your machinery running smoothly and efficiently over time.
What Are the Best Storage Conditions for Collected Oil Samples?
Keep your oil samples in a cool, dark place to prevent any changes in composition—think of it as keeping a secret safe. Store the bottles upright in tightly sealed containers to avoid leaks and contamination. Avoid direct sunlight, heat, or extreme temperature fluctuations, which can skew results. Label each sample clearly and transport them promptly to the lab. Proper storage guarantees your sample’s integrity, giving you an honest picture of oil condition.
Can Portable Pumps Cause Contamination During Sampling?
Yes, portable pumps can cause contamination if not used properly. You should guarantee the pump is clean and free of residual oil or debris before sampling. Always clean the pump with solvent and let it dry thoroughly. Use a sterile probe and avoid touching the inside of the sample bottle or hose. Properly seal all connections and handle the equipment carefully to prevent introducing dirt or moisture into your sample.
How Do Environmental Factors Affect Oil Sample Integrity?
Environmental factors can substantially impact your oil sample’s integrity. Dust, dirt, and airborne particles can contaminate the sample if you’re not careful. Temperature fluctuations may cause oil to evaporate or alter its properties, leading to inaccurate results. Humidity and moisture can introduce water contamination, skewing analysis. To prevent this, always sample in a clean, controlled environment, minimize exposure to the atmosphere, and follow proper sealing and handling procedures.
What Are Common Signs of Contaminated Oil Samples?
Think of your oil sample as a mirror reflecting your equipment’s health. If it shows signs of contamination, you’ll notice unusual sludge, dark discoloration, or a gritty feel—like dirt in a clear pond. Sometimes, unexpected metal particles or frothy foam hint at wear or water intrusion. Spotting these signs early helps prevent bigger issues, so always check for foreign debris, discoloration, or strange textures before analyzing your sample.
Conclusion
By following these steps, you’ll become a master at collecting pristine oil samples that reveal true engine health—no contamination sneaking in like a thief in the night. Remember, a single contaminated sample can lead to misdiagnosis worse than missing a ticking time bomb. Stay diligent, double-check your process, and treat each sample like gold. Doing so guarantees you catch issues early, saving you from costly repairs and keeping your equipment running smoothly for miles to come.
Fall Picks
fall essentials
As an affiliate, we earn on qualifying purchases.