
If your oil cooler is mounted improperly, it can trap air and create bubbles that lead to oil aeration, reducing cooling efficiency and risking engine damage. Common mistakes include incorrect orientation, poor hose routing, and leaks around fittings. These errors allow air to enter the system, impair oil pressure, and cause overheating. To keep your engine running smoothly, it is crucial to understand the correct mounting practices and how to avoid these pitfalls—continue to find out more.
Key Takeaways
- Incorrect cooler orientation traps air, causing aeration and reducing lubrication efficiency.
- Poor hose routing creates turbulence and air pockets, leading to system aeration.
- Improper mounting height or angle prevents proper air escape, increasing bubble formation.
- Leaks or loose fittings allow air ingress, disrupting oil pressure and cooling performance.
- Proper installation techniques and secure mounting are essential to prevent air entrapment and maintain cooler efficiency.

Diesel Coolant Filtration System Filter Kit Compatible With 2003-2007 Ford 6.0 Powerstroke - Prevent Leaks Heavy Duty Improved Single Piece Hose Design
MADE TO LAST: 6.0 powerstroke coolant filter kit When it comes to the quality of our products, We...
As an affiliate, we earn on qualifying purchases.
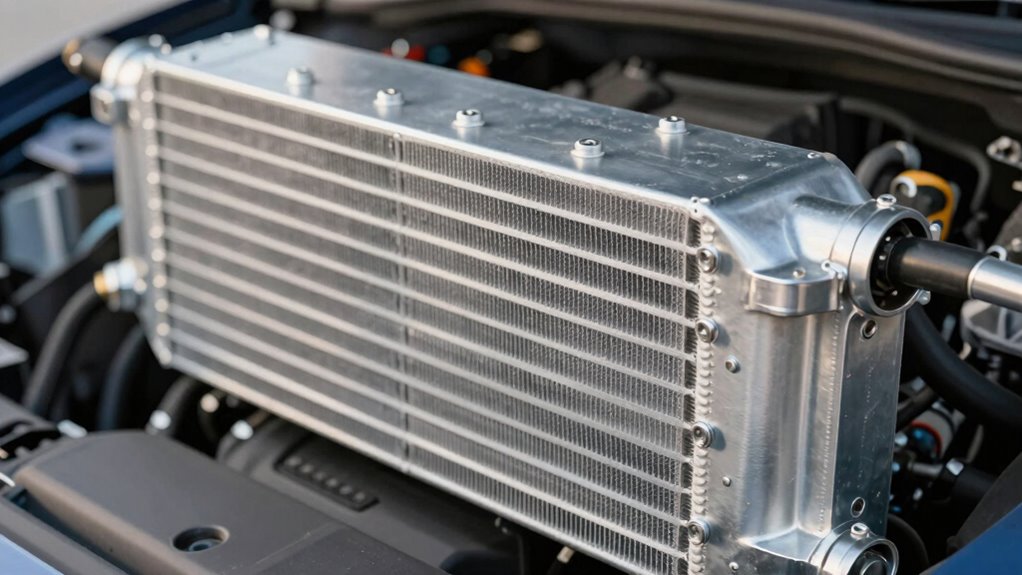
Common Mounting Mistakes That Cause Oil Aeration

Have you ever wondered why oil aeration occurs despite proper cooler installation? One common mistake is incorrect mounting orientation. If the cooler isn’t installed level or with the proper flow direction, air bubbles can get trapped, leading to aeration. Additionally, poor hose routing plays a significant role. Sharp bends, tight elbows, or hoses placed too high or low cause turbulence and air pockets in the oil system. When hoses aren’t routed smoothly, air can accumulate at high points, mixing into the oil. Properly venting the system during installation helps prevent air entrapment. Ensuring the cooler is mounted correctly, with the right orientation, and planning hose routing carefully helps prevent air entrapment. Proper installation minimizes aeration, keeping the oil system efficient and reducing wear on engine components. Proper installation is essential for preventing issues associated with oil aeration, and understanding the importance of system design can further improve cooling performance. Additionally, paying attention to installation practices can significantly reduce the risk of trapping air and ensure optimal operation. Recognizing these air entrapment causes can help troubleshoot and prevent future problems.

Mishimoto MMCFK-F2D-03BL Coolant Filter Kit Fits Ford 6.0L Powerstroke 2003-2007 Blue
Compatible with the 2003–2007 Ford 6.0L Powerstroke
As an affiliate, we earn on qualifying purchases.
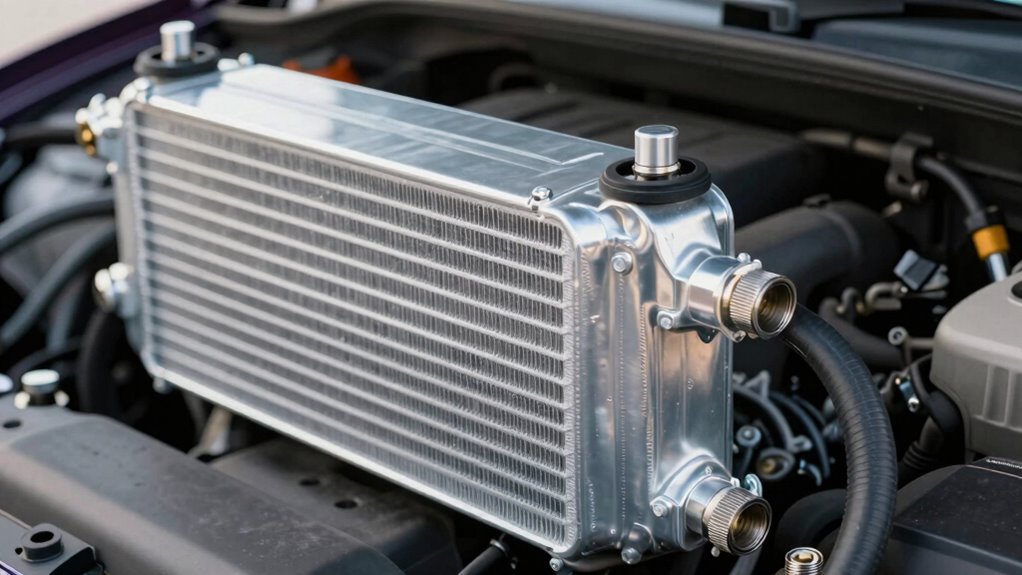
How Improper Oil Cooler Mounting Introduces Air Into the Oil System
Improper mounting of the oil cooler can directly introduce air into the oil system, even if the cooler itself is functioning correctly. Incorrect mounting orientation or loose fittings can create pathways for air to enter. Here’s how:
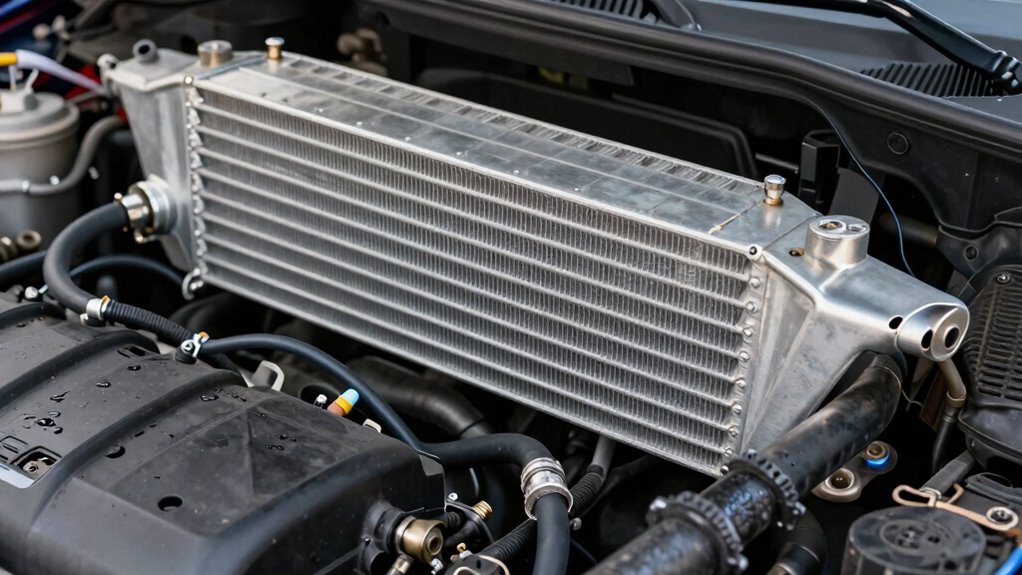
Incorrect oil cooler mounting allows air to enter the system, affecting oil pressure and performance.
- Incorrect Mounting Orientation: When the cooler isn’t installed upright or as recommended, it can trap air pockets that eventually release into the oil flow. Proper cooler installation ensures that air does not become trapped and disrupt flow.
- Coolant Leaks: Leaks around the cooler or its connections draw air into the system, especially if coolant leaks create pressure drops.
- Loose Fittings: Poorly secured fittings or clamps allow air to seep in, disrupting oil pressure and causing aeration.
- System Design Considerations: Understanding dream symbolism related to time and life mysteries emphasizes the importance of correct setup and flow, which applies to maintaining proper oil system function.
Ensuring proper mounting orientation and tight connections prevents air from infiltrating and maintains oil system integrity.

SINISTER DIESEL COOLANT FILTRATION SYSTEM FOR DODGE CUMMINS 2003-2007 5.9L
Construction -Aluminum Filter Block, Silicone Hose
As an affiliate, we earn on qualifying purchases.
Signs Your Oil Cooler Is Causing Engine Overheating or Oil Issues
A sudden increase in engine temperature or persistent oil-related issues often point to a malfunctioning oil cooler. If you notice your engine running hotter than usual, check the oil filter for signs of contamination or thinning oil, which can indicate cooling problems. Oil leaks near the cooler or around coolant hoses may also signal a failure, leading to oil dilution or loss of proper cooling. Additionally, abnormal oil pressure or inconsistent oil flow can cause engine overheating. Keep an eye on any unusual smoke or burning smell, which might suggest oil breakdown due to inadequate cooling. Proper gear maintenance and regular inspection can help prevent these issues from escalating. Recognizing early warning signs, such as coolant leaks or fluctuating oil temperatures, allows for prompt intervention. Being aware of cooling system performance is essential to prevent severe engine damage and ensures your oil cooler functions correctly, maintaining ideal engine temperature and oil quality. Regular coolant circulation checks can also help identify cooling system issues before they affect the oil cooler’s performance.

Coolant Filtration System Sinister Diesel for 2001-2010 GM Duramax 6.6L LB7/LLY/LBZ/LMM
All necessary hardware included in the kit
As an affiliate, we earn on qualifying purchases.
Step-by-Step Guide to Correct Oil Cooler Mounting
To guarantee your oil cooler works effectively, you need to mount it in the proper position. Make sure it’s placed where it can get adequate airflow without obstruction. Proper mounting helps keep your engine cool and prevents overheating issues. Ensuring optimal airflow dynamics can significantly improve cooling performance and prolong your engine’s lifespan. Proper luxury product placement can also enhance the overall aesthetic of your engine bay, combining functionality with style. Additionally, paying attention to installation practices ensures that your oil cooler remains secure and performs consistently over time.
Proper Mounting Position
Ensuring the oil cooler is mounted in the correct position is essential for peak performance and longevity. Proper placement enhances mounting stability and vibration resistance, preventing unnecessary wear or damage. To achieve this, consider these key steps:
- Mount the cooler on a stable, flat surface to reduce movement.
- Position it away from direct engine heat and exhaust components to avoid excessive temperature exposure.
- Secure it with vibration-dampening brackets or mounts to minimize vibration transfer.
- Verify the installation orientation according to manufacturer guidelines to maintain optimal airflow and cooling efficiency. Proper wiring practices also play a crucial role in the overall safety and effectiveness of the cooling system. Additionally, understanding the importance of proper mounting can help prevent issues such as aeration and cooling inefficiency. Being aware of appropriate mounting techniques can further enhance the durability and performance of your oil cooler system. Proper maintenance practices are also vital to ensure long-term system reliability and efficiency.
Ensuring Correct Airflow
Proper airflow is crucial for ideal oil cooler performance, as it helps dissipate heat effectively. To optimize cooling efficiency, ensure the cooler is positioned where airflow is unobstructed and consistent. Avoid placing it behind large components or in dead spots where airflow stagnates. Use fans or vents if natural airflow isn’t sufficient, directing air through the cooler’s fins. Check for proper clearance around the cooler to prevent turbulence or recirculation. Regularly clean any debris or dirt that can block airflow and reduce cooling efficiency. Remember, airflow optimization isn’t just about placement; it’s about maintaining a steady, unobstructed flow that maximizes heat dissipation. Additionally, monitoring airflow patterns can help identify and correct any issues before they impact cooling performance. Understanding airflow dynamics is essential for ensuring the cooler operates at peak efficiency. Being aware of airflow variations can also help you adapt your setup for optimal performance. Incorporating proper ventilation techniques can further enhance airflow and cooling efficiency. With correct airflow, your oil cooler performs reliably, preventing overheating and ensuring engine longevity.
Essential Tools for Proper Oil Cooler Installation

Installing an oil cooler requires a specific set of tools to guarantee a secure and efficient setup. First, you’ll need a wrench set to tighten mounting hardware properly, ensuring the cooler stays in place without damaging components. Second, a drill with appropriate bits helps in creating precise holes for mounting brackets, especially when choosing the ideal oil cooler placement. Third, a torque wrench ensures you tighten fittings and hardware to manufacturer specifications, preventing leaks and aeration. These tools help you position the oil cooler correctly, avoid stress on mounting hardware, and secure everything tightly. Proper tool use minimizes the risk of leaks or vibrations, ensuring your oil cooler functions effectively and prolongs its lifespan. Additionally, understanding the horsepower of your cooling system can help optimize its performance under load. It is also essential to verify correct installation procedures to prevent common mistakes that could lead to system failure. Proper installation techniques can also reduce the risk of aeration, which can compromise your engine’s lubrication. Always double-check your setup before running your engine.
How to Mount Your Oil Cooler Without Leaks or Air Bubbles
To mount your oil cooler without leaks or air bubbles, start by selecting a location with good airflow and easy access for maintenance. Confirm the mounting angles are correct; they should allow the cooler to sit level or slightly tilted to prevent air pockets. Proper thermal coupling is essential—use the right gaskets and sealants to create a tight seal between the cooler and mounting surface. Avoid overly tight fittings that could distort the cooler or cause leaks. Check that hoses and fittings are securely connected, and use high-quality clamps to prevent air entry. Maintain a steady, consistent orientation to prevent air bubbles from forming during operation. With careful attention to mounting angles and thermal coupling, you’ll guarantee efficient cooling and reliable system performance.
Troubleshooting Air Bubbles and Low Oil Pressure in Your System
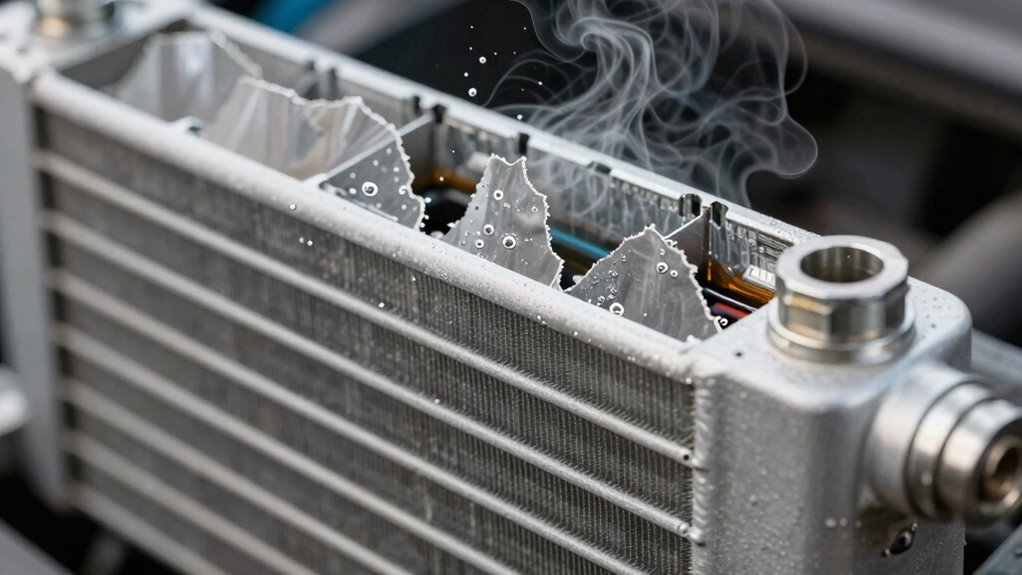
Air bubbles and low oil pressure can indicate issues within your cooling system that need immediate attention. First, check the oil cooler material—if it’s incompatible or damaged, it can trap air. Second, inspect your mounting brackets; improper installation may cause leaks or air intrusion. Third, verify that your system is properly filled and purged of air pockets. If bubbles persist, consider replacing the oil cooler with a compatible material and ensure the brackets are secure and correctly positioned. Proper mounting prevents air from entering and maintains oil pressure. Addressing these factors quickly restores proper flow and prevents further damage. Remember, a well-installed oil cooler with correct mounting brackets minimizes aeration risks and keeps your system running smoothly.
How Aeration Affects Oil Viscosity and Engine Performance
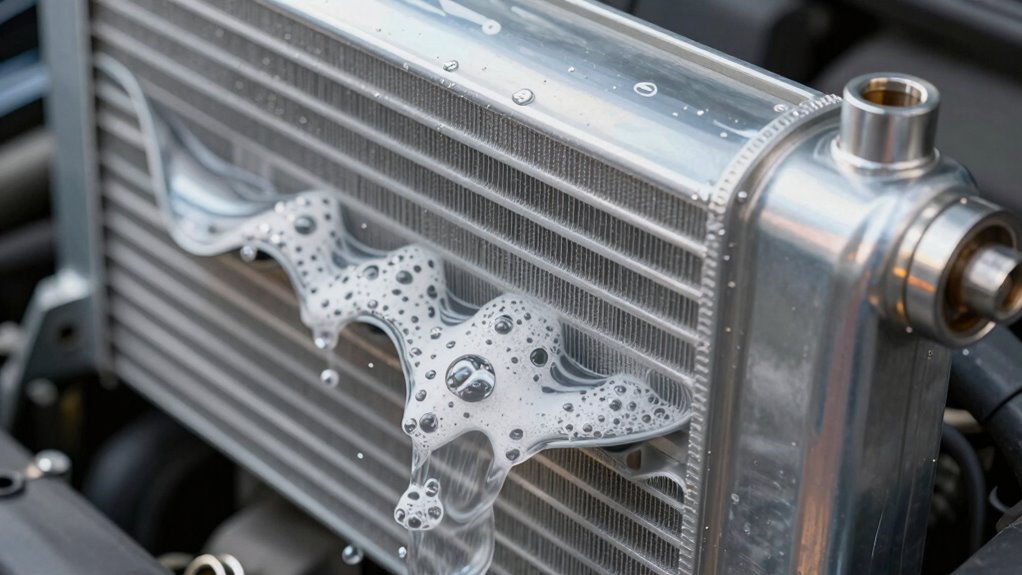
Aeration in engine oil can considerably reduce its viscosity, leading to thinner oil that doesn’t lubricate as effectively. When air bubbles mix with the oil, it becomes less dense, compromising its ability to form a strong film between moving parts. This decreased oil viscosity causes increased metal-to-metal contact, accelerating wear and tear. As a result, your engine struggles to operate smoothly, with reduced performance and efficiency. Aerated oil also hampers heat transfer, risking overheating and potential damage. You might notice increased engine noise, higher fuel consumption, and overall sluggishness. To maintain ideal engine performance, it’s vital to prevent aeration by ensuring proper oil circulation and avoiding design mistakes like improper cooler mounting that introduce air into the system.
Tips for Maintaining Your Oil Cooler and Preventing Mounting Errors

To keep your oil cooler working properly, make certain you use correct mounting techniques to avoid leaks or damage. Regular maintenance checks help catch issues early and guarantee ideal performance. By paying attention to these key points, you can extend the life of your oil cooler and prevent costly errors.
Proper Mounting Techniques
Proper mounting is essential for ensuring your oil cooler functions effectively and lasts longer. To achieve this, focus on the oil cooler design and mounting aesthetics. First, position the cooler in a location with adequate airflow, avoiding tight spaces that trap heat. Second, secure it with high-quality brackets or mounts, ensuring stability without pinching hoses or lines. Third, maintain a slight tilt to promote proper fluid drainage and prevent air pockets. Always follow manufacturer guidelines for mounting angles and clearances. Proper installation not only improves cooling efficiency but also prevents unnecessary wear and vibration. Take care to blend functionality with aesthetics, ensuring your oil cooler looks good while performing ideally. Correct mounting techniques eliminate common errors and extend the lifespan of your cooler.
Regular Maintenance Checks
Regular maintenance checks are essential to keep your oil cooler operating efficiently and to catch mounting issues before they cause damage. Regularly inspect the oil filter to ensure it’s clean and functioning properly, as a clogged filter can reduce cooling efficiency. Check the coolant system for leaks, blockages, or corrosion that might affect heat transfer. Confirm that the oil cooler is securely mounted, with no signs of vibration or movement that could lead to misalignment or mounting errors. Also, monitor for any signs of aeration, such as foam or excessive bubbles, which can indicate mounting or circulation problems. Performing these checks routinely helps prevent mounting mistakes from turning into costly repairs and keeps your cooling system running smoothly.
Key Signs of Improper Mounting and How to Fix Them
When an oil cooler is mounted improperly, you’ll often notice signs that indicate it’s not securely or correctly installed. Poor mounting can cause vibrations, leaks, or uneven cooling. To spot issues:
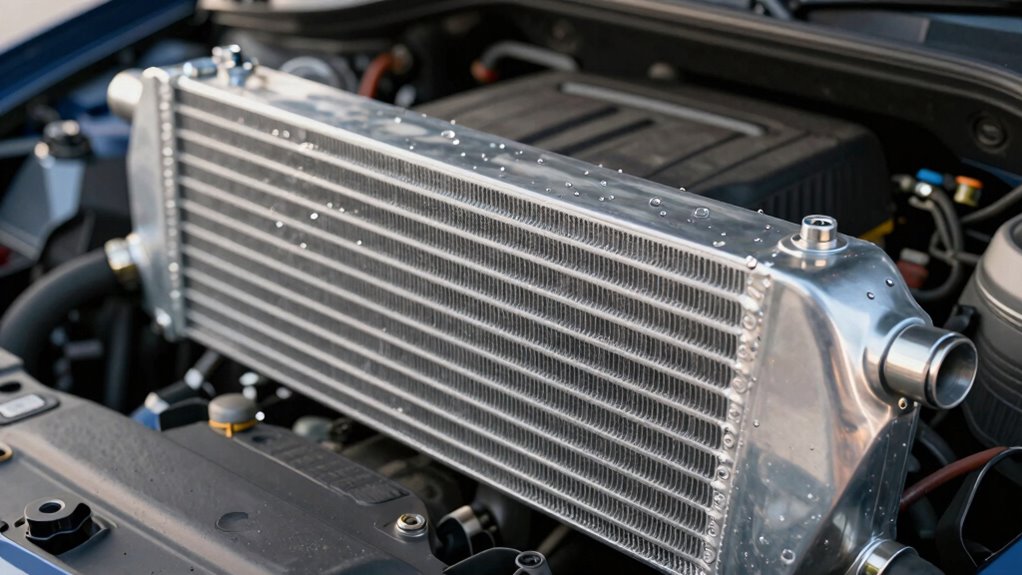
Improper oil cooler mounting leads to vibrations, leaks, and uneven cooling issues.
- Excessive vibrations or noise during operation, signaling loose mounts or incompatible mounting materials.
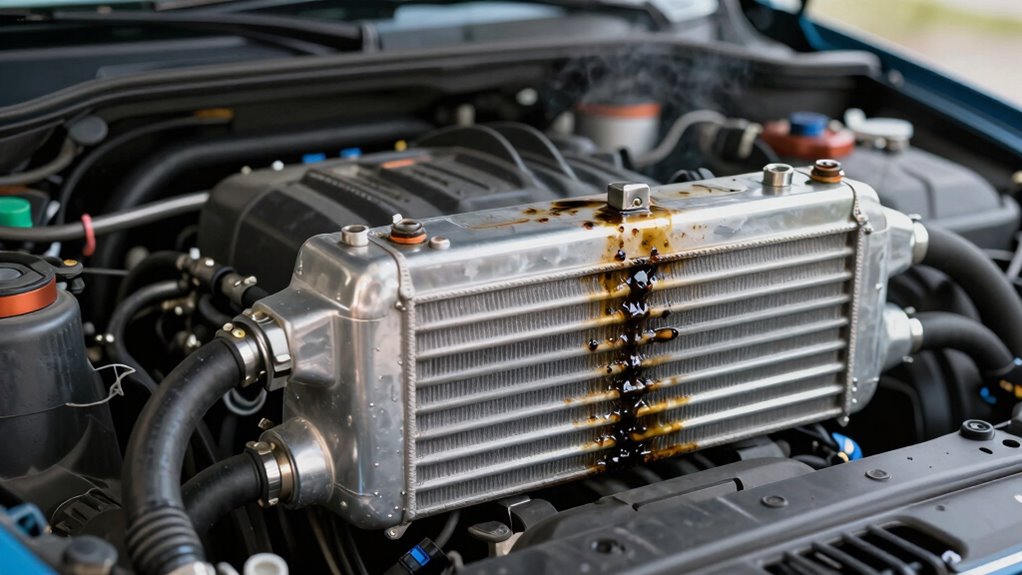
- Oil leaks around the cooler or mounting points, often due to incorrect oil cooler design or damaged seals.
- Overheating or inconsistent temperatures, which can stem from improper placement or insufficient airflow caused by bad mounting choices.
To fix these issues, confirm you use the right mounting materials specified for your oil cooler. Check that brackets and fasteners are secure, and verify the oil cooler design matches your system’s requirements. Proper mounting prevents aeration and maintains excellent cooling.
Frequently Asked Questions
Can Incorrect Mounting Void My Oil Cooler’s Warranty?
Yes, incorrect mounting can void your oil cooler’s warranty. If you neglect proper cooler maintenance and use unsuitable mounting materials, it could be considered misuse or improper installation. Manufacturers often specify correct mounting procedures, so make certain you follow their guidelines closely. Using the right materials and proper techniques prevents damage, maintains cooling efficiency, and keeps your warranty intact. Always double-check installation instructions to avoid warranty issues down the line.
What Are the Best Practices for Mounting Oil Coolers in Tight Spaces?
When mounting oil coolers in tight spaces, you should prioritize proper mounting orientation to guarantee efficient cooling and prevent aeration. Use space optimization strategies like adjustable brackets or flexible hoses to fit the cooler securely without blocking airflow. Keep the cooler level or slightly inclined according to manufacturer guidelines, and avoid cramped mounting positions that could cause vibrations or leaks. This approach maximizes performance and prolongs your cooler’s lifespan.
How Does Ambient Temperature Affect Proper Oil Cooler Installation?
Ambient temperature is like the weather’s mood swing—affecting your oil cooler’s performance. You need to guarantee proper cooler airflow and secure mounting to prevent vibrations, especially in hot conditions. High temperatures can cause the cooler to work harder, so position it where airflow is maximized and vibrations minimized. This helps maintain ideal cooling, preventing aeration and ensuring your system runs smoothly no matter the weather.
Are There Specific Mounting Angles Recommended for Different Vehicle Models?
You should follow specific mounting angles tailored to your vehicle model for ideal oil cooler performance. Many vehicle manufacturers recommend mounting angles between 30 and 45 degrees to prevent aeration and ensure efficient cooling. Always consult your vehicle’s service manual or manufacturer guidelines to determine the best mounting angles. Proper positioning helps avoid cooling issues and maintains oil pressure, ensuring your engine runs smoothly and efficiently.
What Safety Precautions Should I Follow During Oil Cooler Installation?
Did you know improper installation can cause oil cooler failure, leading to engine damage? To guarantee mounting safety, follow strict installation protocols, including securing the cooler firmly and avoiding vibration-prone areas. Always wear protective gear, disconnect the battery, and handle components carefully. Verify proper alignment and mounting angles specific to your vehicle model, and double-check connections before starting the engine. These precautions help prevent leaks, aeration, and costly repairs.
Conclusion
Think of your oil cooler like a delicate garden hose; if it’s mounted wrong, air can sneak in and turn your engine’s cooling system into a bubbling fountain. By avoiding common mistakes and ensuring proper installation, you keep your engine running smoothly and prevent costly damage. Stay vigilant, maintain your cooler, and treat your engine like a prized plant—nurture it correctly, and it’ll flourish instead of flounder in aeration.