
To find leaks in your cooling system without guesswork, use a pressure tester to seal and pressurize the system, then watch the pressure gauge closely. Look for a steady or dropping pressure to identify leaks. Inspect hoses, radiator, and connections for visible cracks or damage, and consider using UV dye for hard-to-see leaks. Keep in mind proper setup and inspection are key—continue exploring for tips to improve your leak detection skills.
Key Takeaways
- Use a calibrated radiator or pressure tester to accurately pressurize the cooling system and monitor for pressure drops.
- Apply UV dye to coolant and inspect with UV light to visually identify leaks that are otherwise hidden.
- Conduct a soap and water spray on hoses and connections; bubbling indicates leaks without guesswork.
- Maintain proper testing procedures by ensuring the engine is cool and the system is sealed before pressurization.
- Regularly inspect radiator, hoses, and cap for corrosion, cracks, or damage to prevent leaks and ensure reliable test results.

CXPRO 32pcs Universal Radiator Pressure Tester Kit, Tester Pneumatic Vacuum Cooling System Purge Refill Leak/Refiller Set, Universal Automotive Domestic/Import Vehicles, Motorcycle
【TROUBLESHOOTING & SAVING MONEY】32pcs universal radiator pressure tester and vacuum refill kit with functions of leak detection, temperature…
As an affiliate, we earn on qualifying purchases.
As an affiliate, we earn on qualifying purchases.
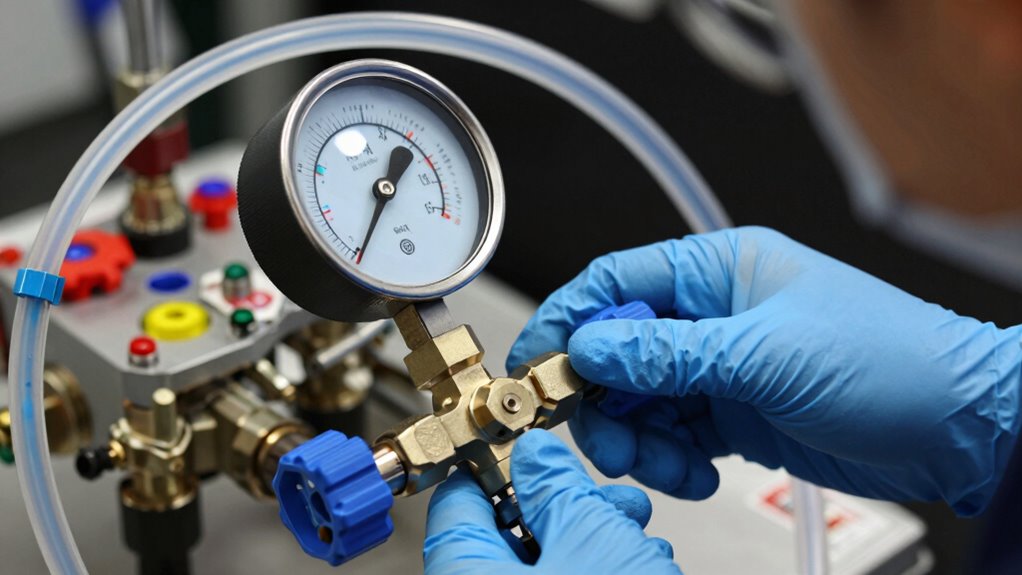
What Tools Do You Need for a Cooling System Pressure Test?
To perform a cooling system pressure test effectively, you’ll need a few essential tools. First, gather reliable pressure testing tools, such as a pressure pump or a radiator tester, designed specifically for testing cooling systems. These tools allow you to safely pressurize the system and monitor for drops in pressure, indicating leaks. Additionally, leak detection equipment like UV dye kits or soapy water spray can help pinpoint the exact location of leaks once the system is pressurized. Make sure your tools are in good condition and compatible with your vehicle’s specifications. Using accurate testing procedures can help ensure reliable results and prevent potential damage during diagnostics. Proper testing techniques and adherence to manufacturer guidelines are vital for accurate results. Having the right pressure testing tools and leak detection equipment on hand makes diagnosing cooling system issues straightforward, accurate, and efficient—saving you time and preventing unnecessary repairs. Proper pressure testing procedures are crucial for ensuring accurate results and avoiding damage to your cooling system. Exploring innovative leak detection methods can also help you find new ways to improve diagnostics and system troubleshooting.

Vansky Air Conditioner Leak Detection: 100 LED Car AC UV Dye Leak Detector Kit with Protective Glasses – Automotive Professional Tool
【Pro Auto AC Leak Detection】 Designed specifically for detecting automotive air conditioner leak, Vansky car AC dye leak…
As an affiliate, we earn on qualifying purchases.
As an affiliate, we earn on qualifying purchases.
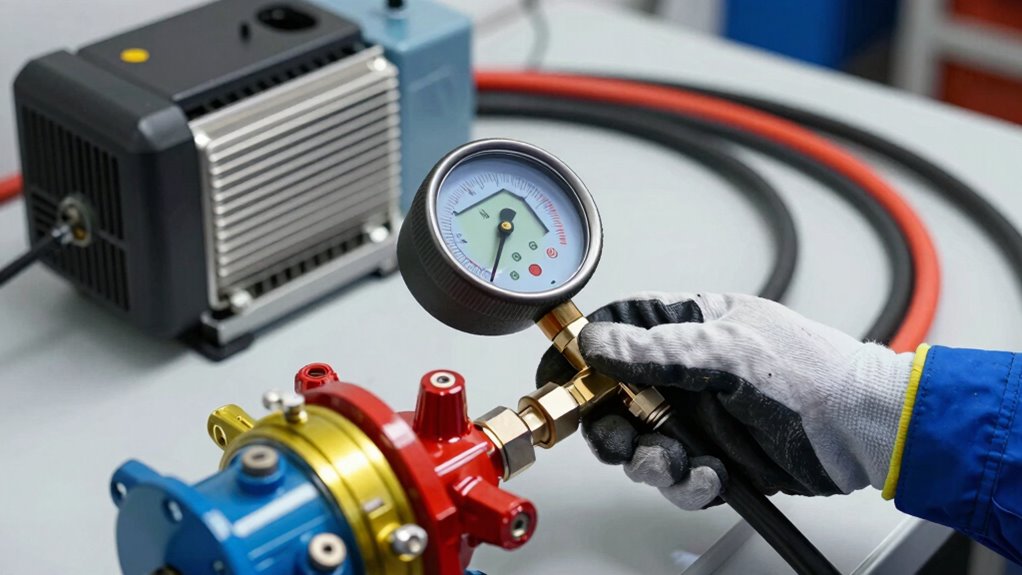
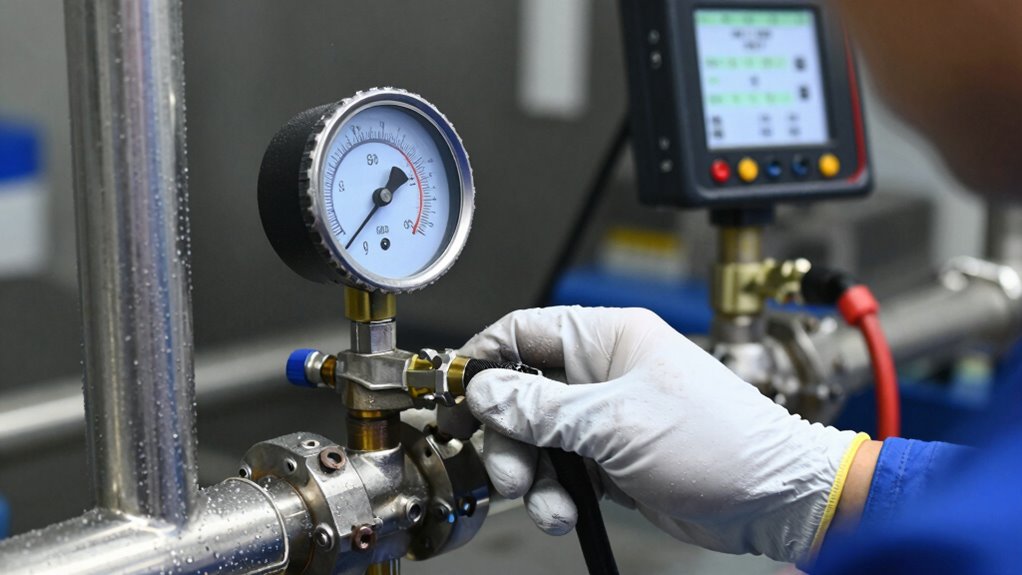
How Does a Cooling System Pressure Test Work?
A cooling system pressure test works by sealing the system and then increasing its internal pressure with a specialized pump or tester. This process allows you to observe how the coolant flow reacts under pressure and identify leaks. As you pump, the pressure rises to a specified level, simulating normal operating conditions. During the test, it’s important to watch for pressure relief, which indicates a leak or weak point in the system. Proper system maintenance is essential to ensure accurate results and safety during testing. Additionally, understanding pressure testing techniques can help maintain system integrity and prevent costly repairs, especially when diagnosing system leaks. This method is also useful for verifying the effectiveness of gap-sealing products in preventing fluid escape.

OEMTOOLS 27069 Cooling System Pressure Test Pump, Near Universal Cooling System Pressure Tester, Diagnose and Locate Leaks, Compatible with Most Adapters
COOLANT PRESSURE TESTER KIT: Our cooling system pressure tester kit is designed to diagnose and help locate leaks…
As an affiliate, we earn on qualifying purchases.
As an affiliate, we earn on qualifying purchases.
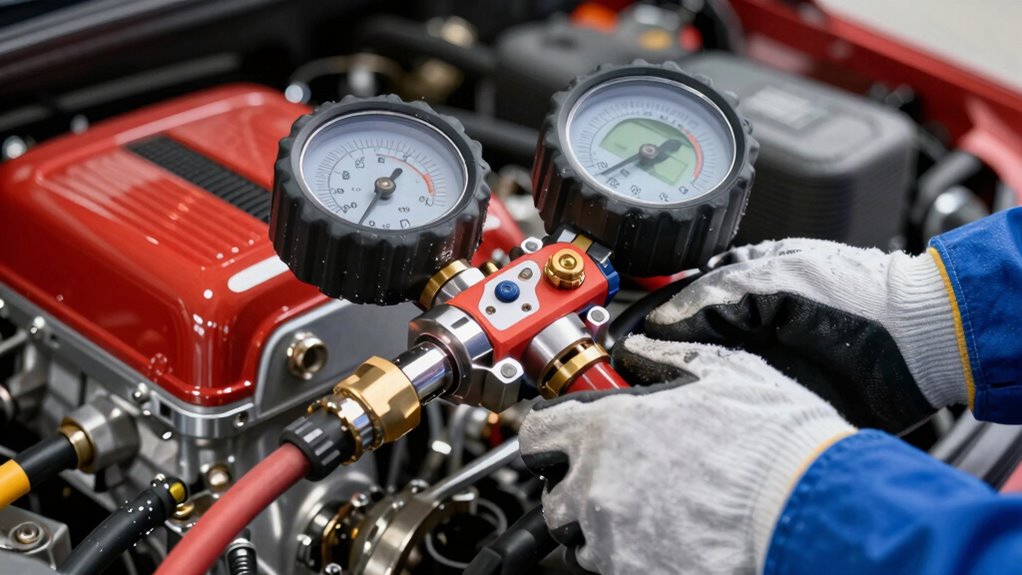
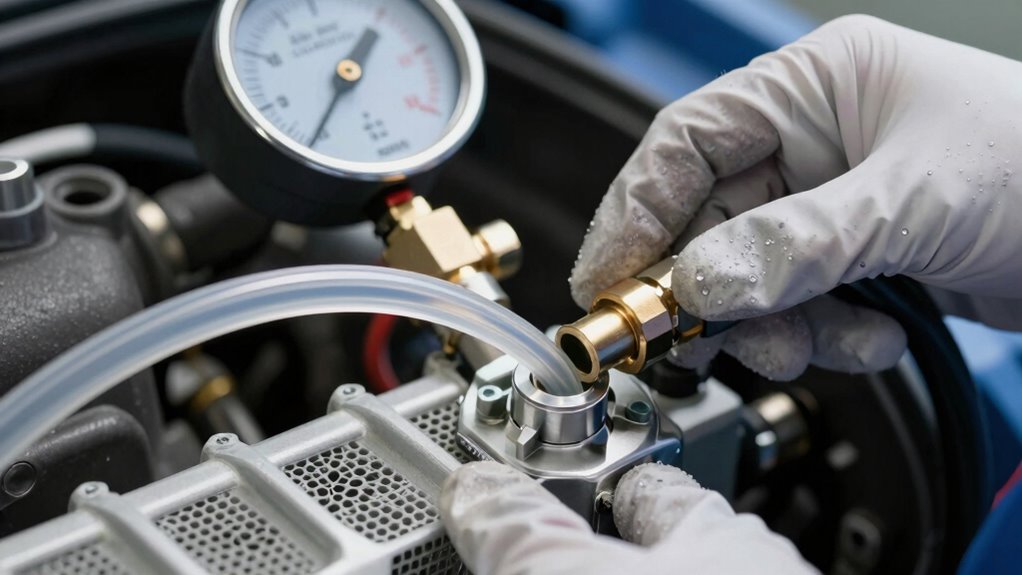
How to Perform a Cooling System Pressure Test Step-by-Step
Performing a cooling system pressure test involves a series of straightforward steps to verify leaks and guarantee proper function. First, guarantee the engine is cool, then remove the radiator cap to prevent pressure buildup. Attach the pressure tester securely to the radiator or coolant reservoir, following manufacturer instructions. Pump the tester to reach the recommended pressure, usually indicated in your vehicle’s manual, paying attention to coolant chemistry and maintaining proper levels. As you pressurize the system, inspect all hoses, radiator, and connections for leaks or cracks. Proper radiator maintenance includes checking for corrosion or debris that could impair the system. Keep an eye on the pressure gauge, ensuring it holds steady. This process helps identify issues early, preventing further damage and maintaining ideal coolant chemistry. Regular testing and inspection are essential for system integrity, and understanding how coolant chemistry impacts system performance can help in choosing the right fluids for your vehicle’s needs. Additionally, air trapped in the system can affect pressure readings and should be carefully bled to ensure accurate testing results. Being aware of pressure loss indicators can also assist in detecting subtle leaks that might not be immediately visible, and performing these tests periodically helps maintain overall cooling system health.

KOOPOOL 30PCS Radiator Pressure Tester Kit, Coolant Pressure Tester and Vacuum Refill Kit for Automotive Cooling System Water Tank Leakage Detection
Universal Compatibility: Our 30-piece radiator coolant pressure tester and refill kit is engineered for maximum versatility. Featuring 17…
As an affiliate, we earn on qualifying purchases.
As an affiliate, we earn on qualifying purchases.
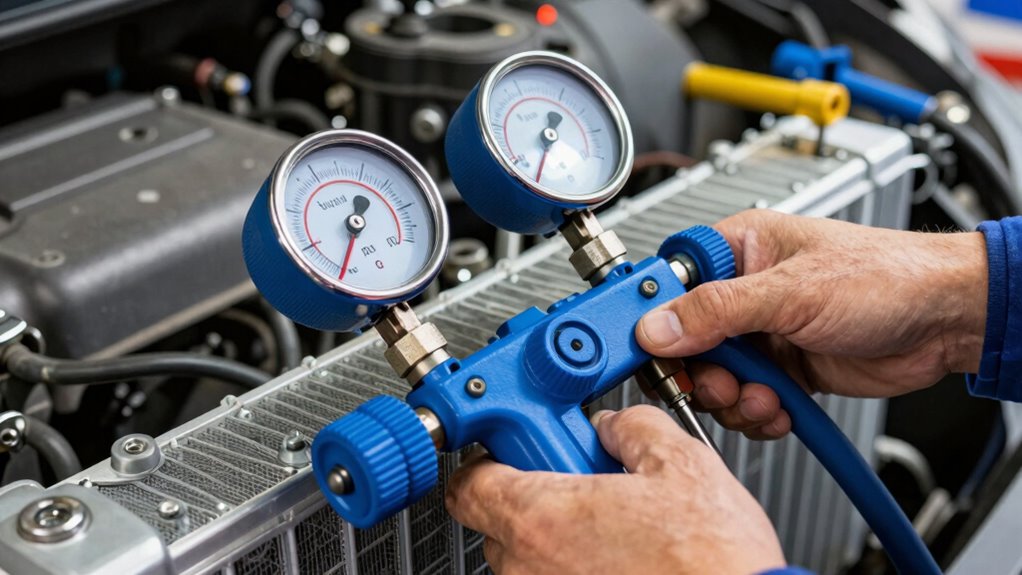
How to Read Pressure Gauge Results and Detect Leaks
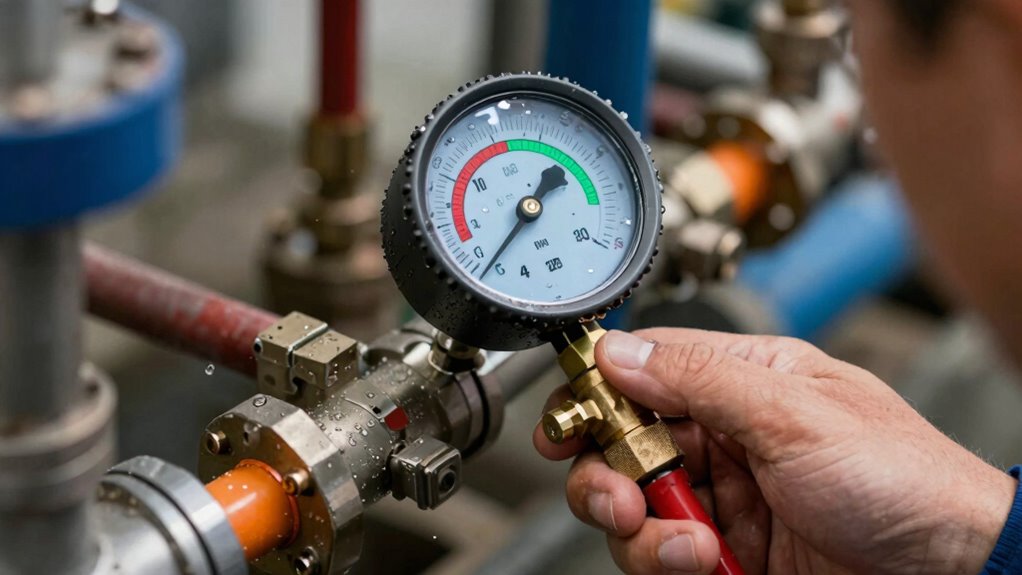
When you check the pressure gauge, look for steady readings or gradual drops, which can indicate leaks. Pay attention to sudden pressure decreases or fluctuations, as these often signal a problem. Recognizing these signs helps you identify leak indicators and determine if further inspection is needed. Additionally, being aware of early warning signs can help prevent more serious issues down the line. Understanding system behavior can also assist in diagnosing potential problems more accurately, and familiarizing yourself with pressure testing procedures ensures more effective leak detection. Developing an understanding of pressure stability can further improve your ability to detect subtle issues early on, especially when combined with knowledge of sound vibrations that may reveal leaks through auditory cues.
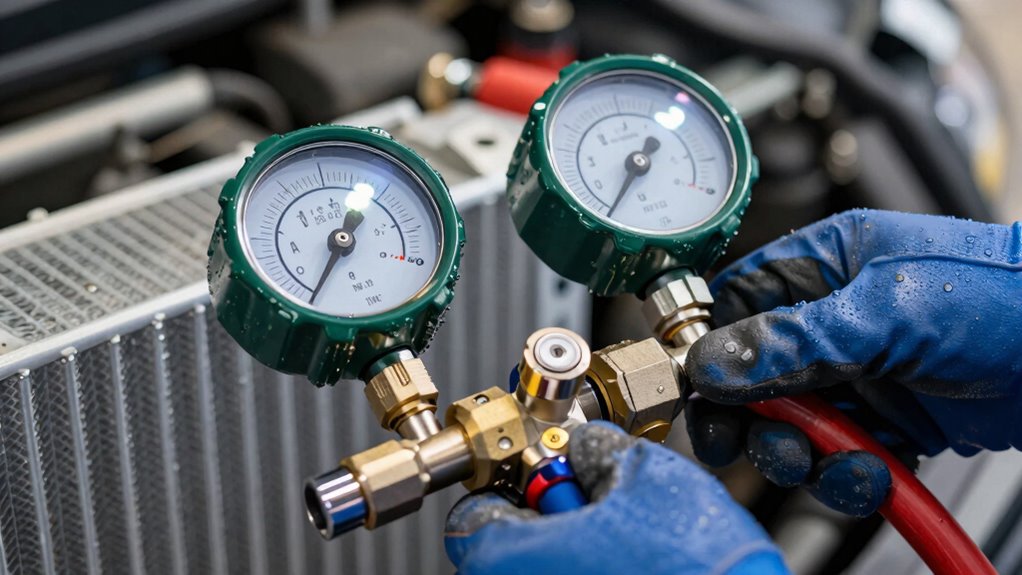
Interpreting Pressure Changes
Understanding how pressure gauge readings change during testing is essential for accurately interpreting system health. You need to watch for pressure fluctuation patterns, as steady readings suggest no leaks, while drops indicate potential issues. Gauge interpretation involves noting whether the pressure remains constant or drops over time, especially after initial stabilization. Small, gradual pressure losses often point to minor leaks, whereas sudden drops signal more significant problems. Pay attention to how quickly the pressure decreases and whether it stabilizes at a lower level. Consistent pressure readings indicate a sealed system, while irregular fluctuations or continuous decline reveal leaks. Clear interpretation of these cues helps you determine system integrity without guesswork. Recognizing pressure stability versus fluctuation patterns can further aid in diagnosing system health. Additionally, understanding proper testing procedures ensures accurate leak detection and prevents misdiagnosis. Being familiar with pressure gauge calibration can also improve the reliability of your readings and conclusions. Moreover, monitoring pressure change patterns over multiple tests can help confirm persistent leaks versus transient issues. Regularly reviewing system pressure data can provide deeper insights into the overall health of your cooling system.
Identifying Leak Indicators
To identify leaks in the cooling system, you need to closely examine the pressure gauge for specific signs. A sudden drop in pressure indicates a leak somewhere in the system. Look for coolant discoloration around hoses or fittings, which suggests a leak has allowed coolant to escape and stain surrounding components. Also, inspect hoses carefully—cracking or bulging hoses often point to deterioration that can cause leaks under pressure. If the pressure drops gradually over time, it’s a sign that coolant may be seeping slowly through small cracks or loose fittings. Monitoring these indicators helps you pinpoint leak sources quickly, so you can address them before more severe damage occurs. Accurate reading of pressure gauge results is essential for effective leak detection. Additionally, understanding the pressure testing process can improve your ability to identify and locate leaks efficiently. Recognizing visual leak signs further aids in confirming the presence of a leak beyond pressure readings.
Signs Your Cooling System Might Have a Leak
A noticeable drop in your vehicle’s coolant level is often one of the first signs that your cooling system might have a leak. You might also notice puddles under your car or steam from the radiator. Pay attention to the coolant color; if it’s rusty or contaminated, it could indicate a leak or corrosion. A faulty radiator cap can cause pressure loss, leading to leaks, so check it regularly. Other signs include overheating warnings or a sweet smell from coolant fumes inside the vehicle. Keep an eye on your dashboard for temperature alerts. Identifying these signs early helps prevent engine damage and costly repairs. Regularly inspecting the radiator cap and coolant levels can save you time and money in the long run. Coolant system maintenance and proper inspection routines are essential for early leak detection and overall vehicle health.
What Do Failed Pressure Tests Mean and How to Troubleshoot
When a pressure test on your cooling system fails, it signals that there’s likely a leak or a weakness in the system. Understanding leak causes is essential for effective troubleshooting. Common leak causes include damaged hoses, loose clamps, or cracks in the radiator or water pump. A failed test also raises concerns about testing accuracy—errors in setup or equipment calibration can produce false negatives or positives. To troubleshoot, first double-check your test setup for proper sealing and pressure levels. Inspect visible parts for cracks, corrosion, or loose connections. Remember, a failed test doesn’t always mean a severe leak; it might be a minor crack or a faulty gauge. Accurate testing and targeted inspection help you identify the root cause swiftly.
When Should You Call a Mechanic for Cooling System Leaks?
Cooling system leaks can quickly become serious problems that require professional attention, especially if you’re unsure of the source or how to fix them yourself. If you notice persistent coolant loss, unexplained drops in coolant mixture levels, or overheating, it’s time to call a mechanic. A leaking radiator cap or compromised hoses may be involved, and a professional can accurately diagnose these issues. Additionally, if you spot puddles beneath your vehicle, hear strange hissing sounds, or notice a sweet smell indicating coolant vapor, seek help immediately. Mechanic experts can perform pressure tests to locate leaks that aren’t visible, ensuring your cooling system functions properly. Don’t delay if you’re uncertain—professional intervention can prevent costly engine damage.
Tips to Find Hard-to-See Leaks During Testing
To find hard-to-see leaks during testing, you need to use the right techniques. Proper lighting helps reveal tiny cracks, while leak detection dye makes concealed leaks more visible. Conducting system pressurization ensures you can spot leaks that only appear under pressure.
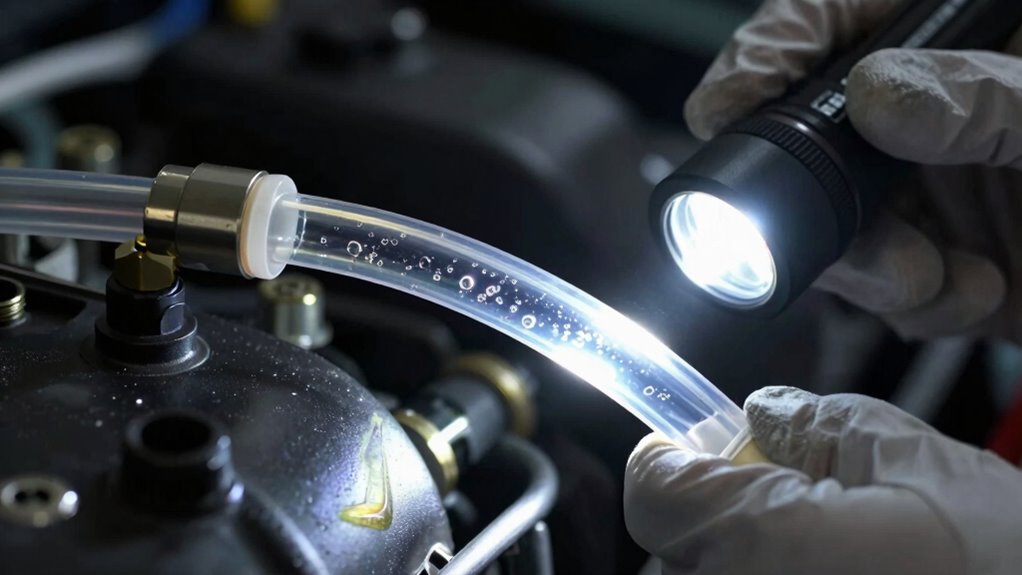
Use Proper Lighting
Proper lighting is essential for spotting small, hard-to-see leaks during pressure tests. Good illumination helps you detect tiny drips or bubbles that might otherwise go unnoticed. Use a bright flashlight to enhance your view, employing effective flashlight techniques like angling the beam to highlight surfaces or reflections. Position your light source carefully to avoid shadows that obscure leaks. A focused beam allows you to scan tight spots and seams efficiently. Additionally, consider using a flashlight with adjustable brightness for different areas. Proper lighting reduces eye strain and improves accuracy, making leak detection more straightforward. Remember, well-placed illumination is key to identifying even the smallest leaks quickly and confidently.
- Use a bright, focused flashlight to improve visibility
- Adjust flashlight angle to catch reflections and bubbles
- Avoid shadows by illuminating from multiple directions
- Keep flashlight beams steady for detailed inspection
Apply Leak Detection Dye
Applying leak detection dye can considerably improve your chances of finding elusive leaks that remain hidden during pressure tests. The dye’s visibility makes it easier to spot small leaks, especially those that don’t produce obvious signs like drips or bubbles. When adding the dye, guarantee you follow the manufacturer’s instructions for the correct amount, as too much or too little can affect leak detection accuracy. After applying the dye, run the system and inspect all joints, fittings, and hoses carefully. Look for the dye’s glow under UV light or natural light, depending on the product used. This enhanced leak detection method allows you to pinpoint even tiny leaks that might otherwise go unnoticed, saving you time and ensuring a thorough system inspection.
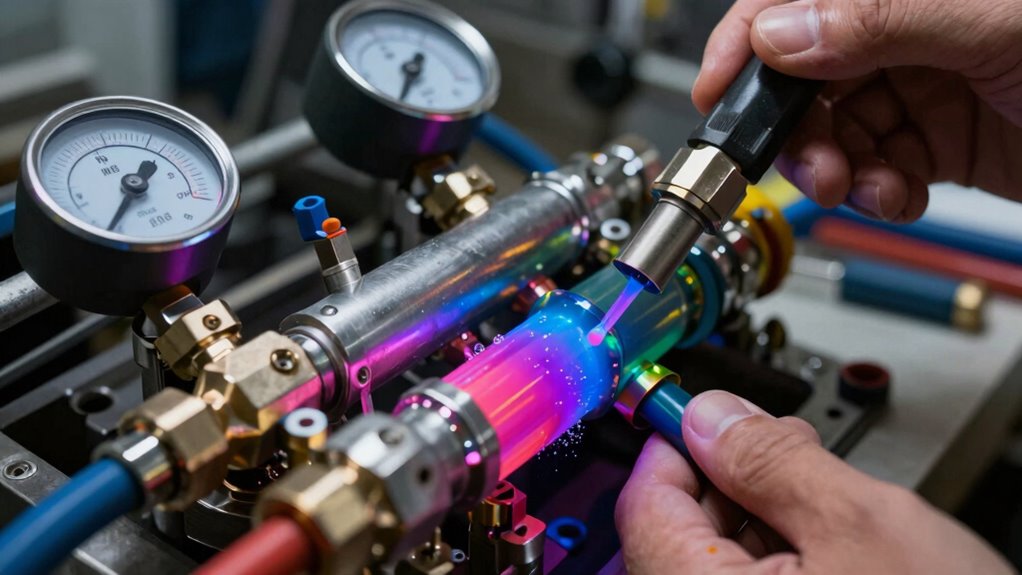
Conduct System Pressurization
Ever wonder how to detect those hard-to-see leaks during a system pressure test? Proper system pressurization is key. Start by gradually increasing pressure to the manufacturer’s specifications, avoiding sudden spikes that might mask leaks. Maintain steady pressure and observe any drops, which indicate leaks. Use a reliable pressure gauge for accurate readings. To improve detection:
- Listen for hissing sounds indicating escaping air or fluid
- Visually inspect hoses, joints, and fittings closely
- Apply soapy water to suspect areas for bubbling
- Use a flashlight to spot tiny leaks or moisture
This method ensures thorough pressure testing, making it easier to find elusive leaks. Correct system pressurization helps pinpoint problems early, saving time and preventing further damage. Stay attentive during pressure testing for the best results.
How to Maintain Your Cooling System to Prevent Leaks
Regularly inspecting your cooling system is vital to prevent leaks before they become serious issues. Start with radiator maintenance by checking for corrosion, cracks, or debris that can weaken the system. Keep the radiator cap clean and ensure it seals properly. Additionally, coolant replacement is essential; old or contaminated coolant can corrode internal components and cause leaks. Follow your vehicle manufacturer’s recommended schedule for flushing and refilling the coolant. Always use the correct type and mixture to prevent overheating and damage. Regularly inspecting hoses and connections for wear or leaks also helps identify potential problems early. By maintaining proper coolant levels and keeping your radiator in good condition, you reduce the risk of leaks and extend the lifespan of your cooling system.
Frequently Asked Questions
Can Pressure Tests Identify All Types of Cooling System Leaks?
Pressure tests are effective for identifying most cooling system leaks, but they might not catch every type. Leak detection methods like dye tests or electronic sensors can complement pressure testing, especially for small or hard-to-see leaks. By performing these tests, you guarantee coolant system integrity, preventing potential overheating or damage. Combining pressure tests with other leak detection methods gives you an all-encompassing approach to maintaining a reliable, leak-free cooling system.
How Often Should I Perform a Cooling System Pressure Test?
You should perform a cooling system pressure test at least once a year or during routine maintenance to catch leaks early. Just like regular checkups keep your health in check, following a maintenance schedule assures your vehicle runs smoothly. Diagnostic techniques help detect issues before they worsen. If you notice overheating or coolant loss, run a pressure test immediately. Regular testing keeps your cooling system reliable and prevents costly repairs down the road.
Are There Risks Involved in Performing a Pressure Test Myself?
Performing a pressure test yourself involves some pressure risks and testing safety concerns. If you’re not careful, you could over-pressurize the system, causing hoses or components to rupture, which might lead to injuries. Always follow manufacturer instructions closely, wear safety gear, and make sure the vehicle is cool before starting. If you’re unsure, it’s best to have a professional handle the test to avoid accidents and ensure accurate results.
What Are Common Causes of False Leak Detection During Testing?
False leak detection often results from sensor errors, seal failures, or improper testing procedures. You might see leaks where none exist due to faulty sensors or compromised seals, leading to inaccurate readings. To avoid these issues, verify your sensors are calibrated correctly, seals are intact and properly installed, and follow proper testing procedures. This way, you minimize false alarms and accurately identify actual leaks without guesswork.
How Do Temperature Fluctuations Affect Pressure Test Accuracy?
Temperature fluctuations can impact pressure test accuracy because thermal expansion causes the coolant and system components to expand or contract. This variation can lead to false leak indications. To minimize this, you should guarantee proper sensor calibration before testing and monitor temperature changes closely during the process. Stabilizing the system temperature helps achieve more reliable readings, reducing the risk of misdiagnosing leaks caused by thermal effects.
Conclusion
A cooling system leak is like a slow leak in a tire—you might not notice it at first, but it gradually causes trouble. By following the right testing steps and reading your pressure gauge carefully, you can catch leaks early and prevent costly repairs. Think of it as tuning your car’s heartbeat—keeping it steady and healthy. Stay proactive, maintain your system regularly, and you’ll keep your engine running smoothly for miles to come.